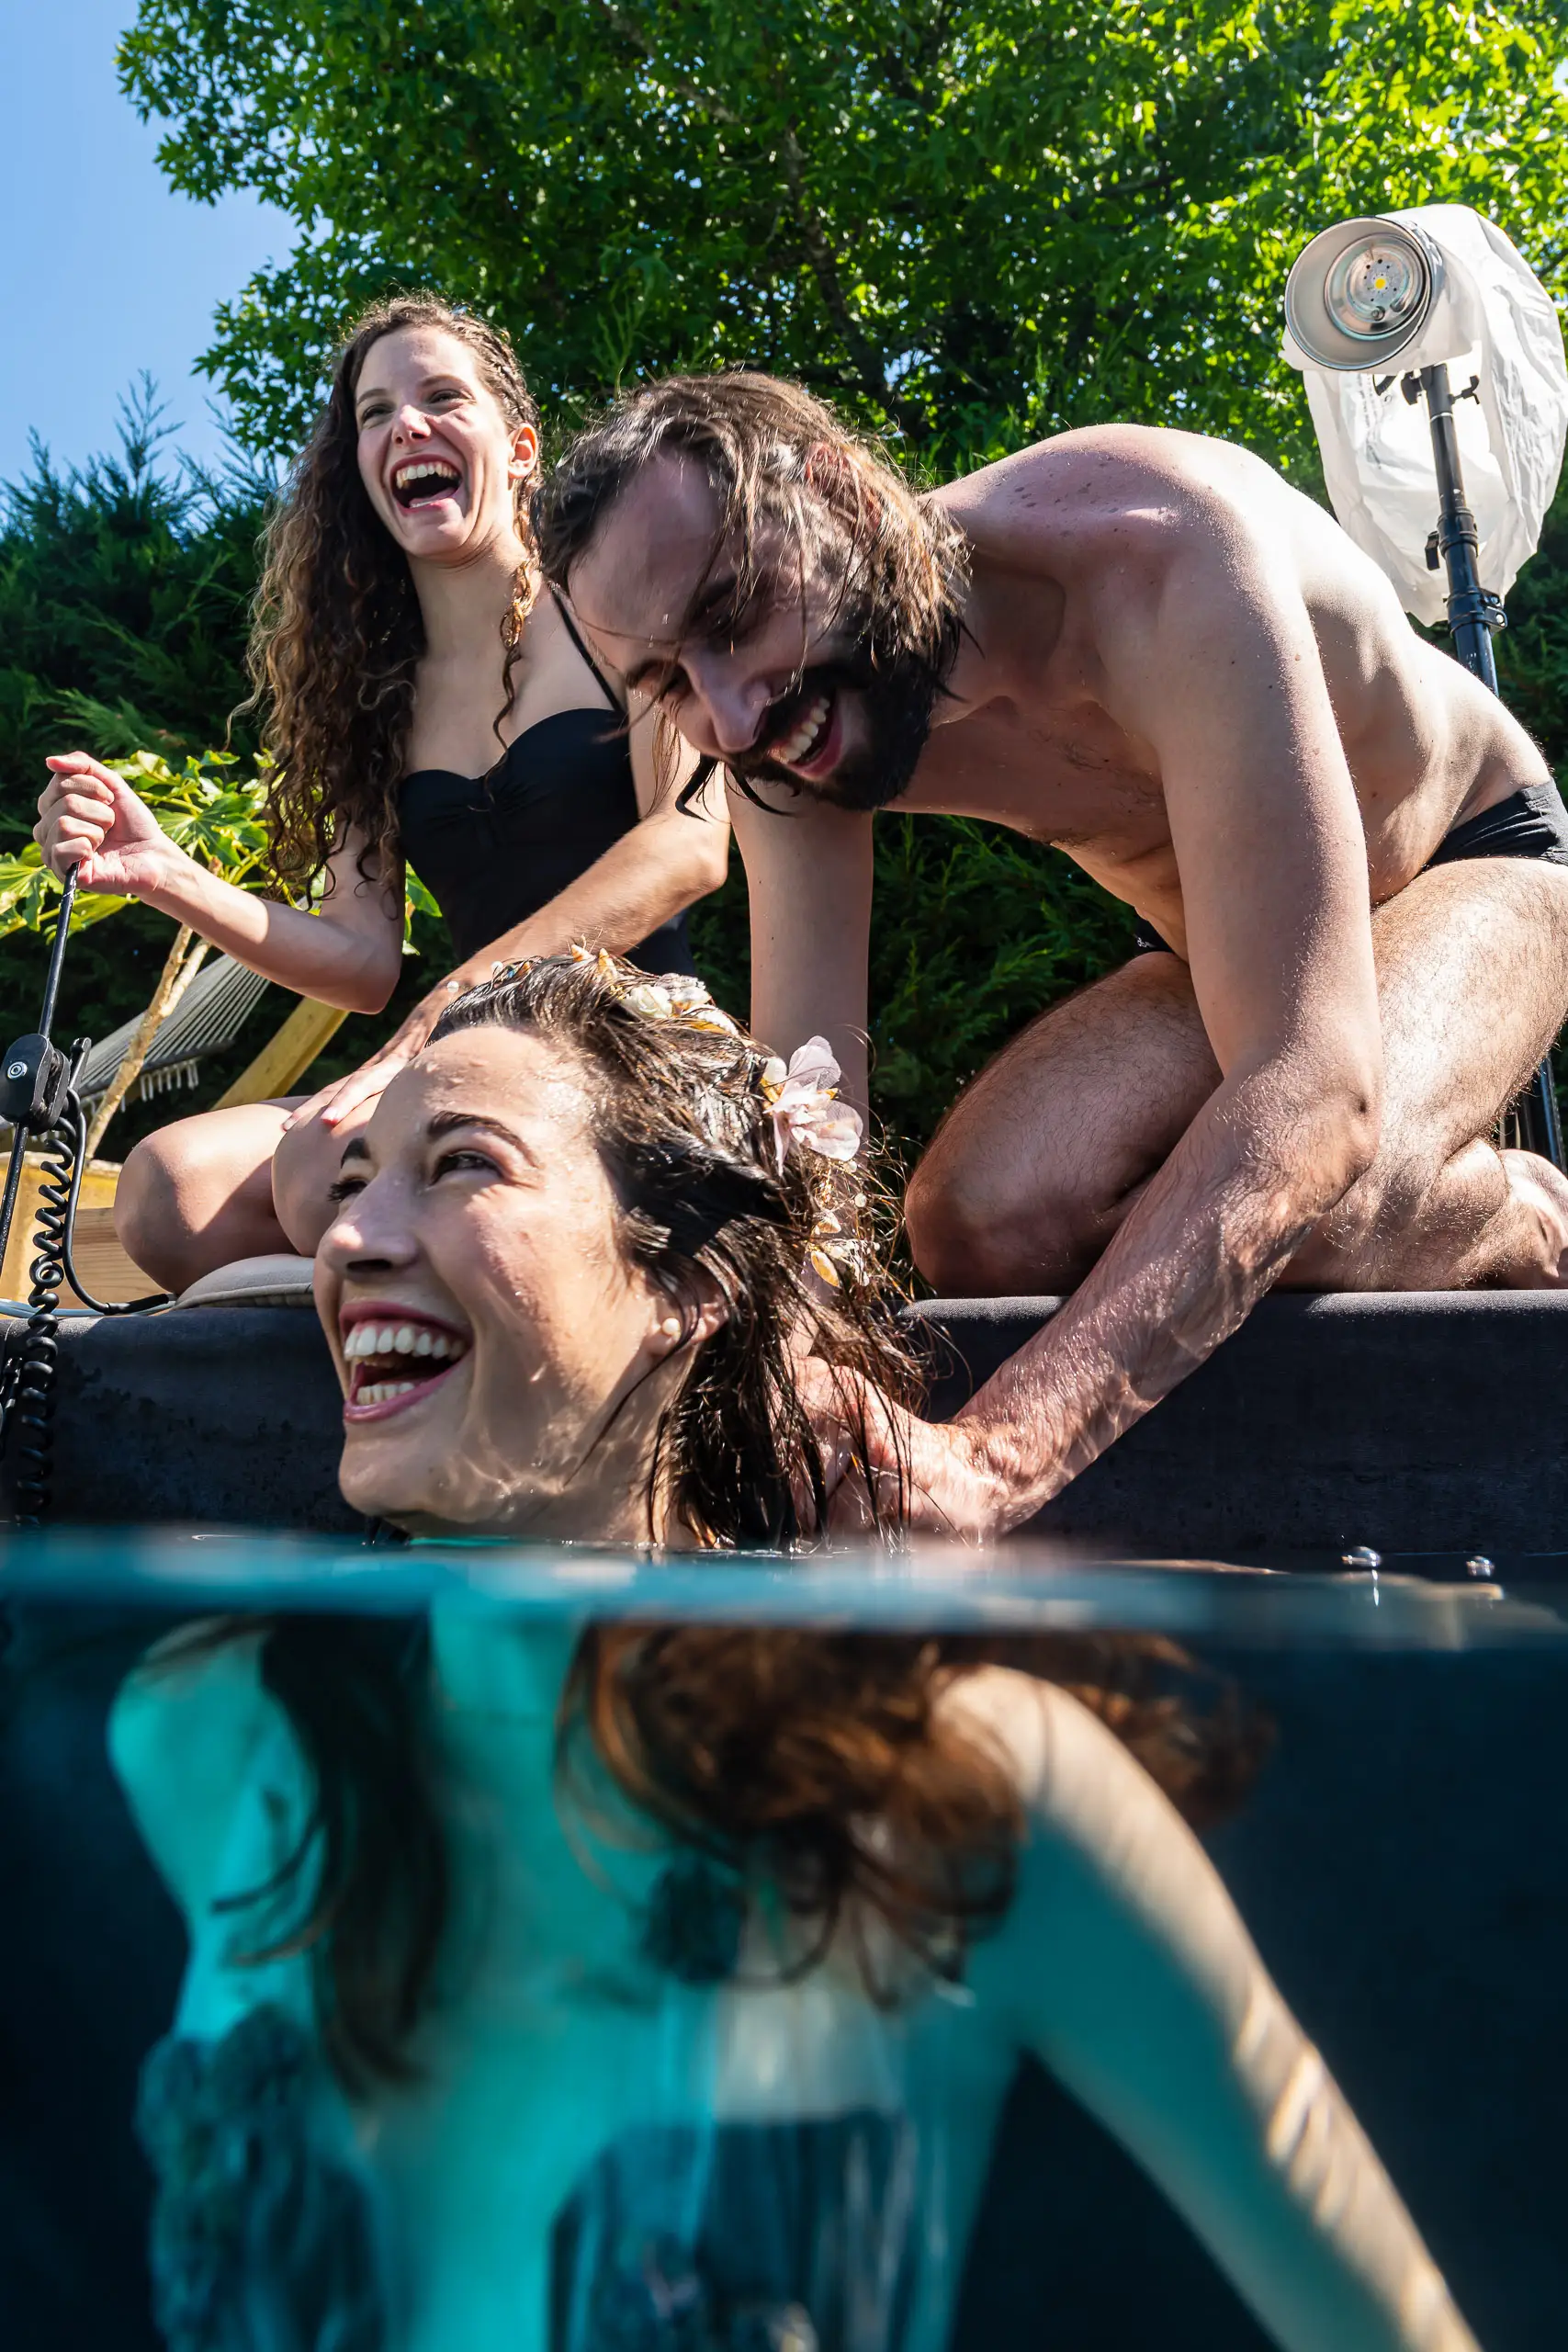

Posing underwater is unlike any other photo shoot. All you need is to be able to swim and be comfortable putting your head underwater, but a few pointers make all the difference. Here’s how a session with me works, from getting ready to climbing out of the pool.
Before the shoot
- Get a good night’s sleep and eat light: a big meal right before gets in the way of your breathing and your descent.
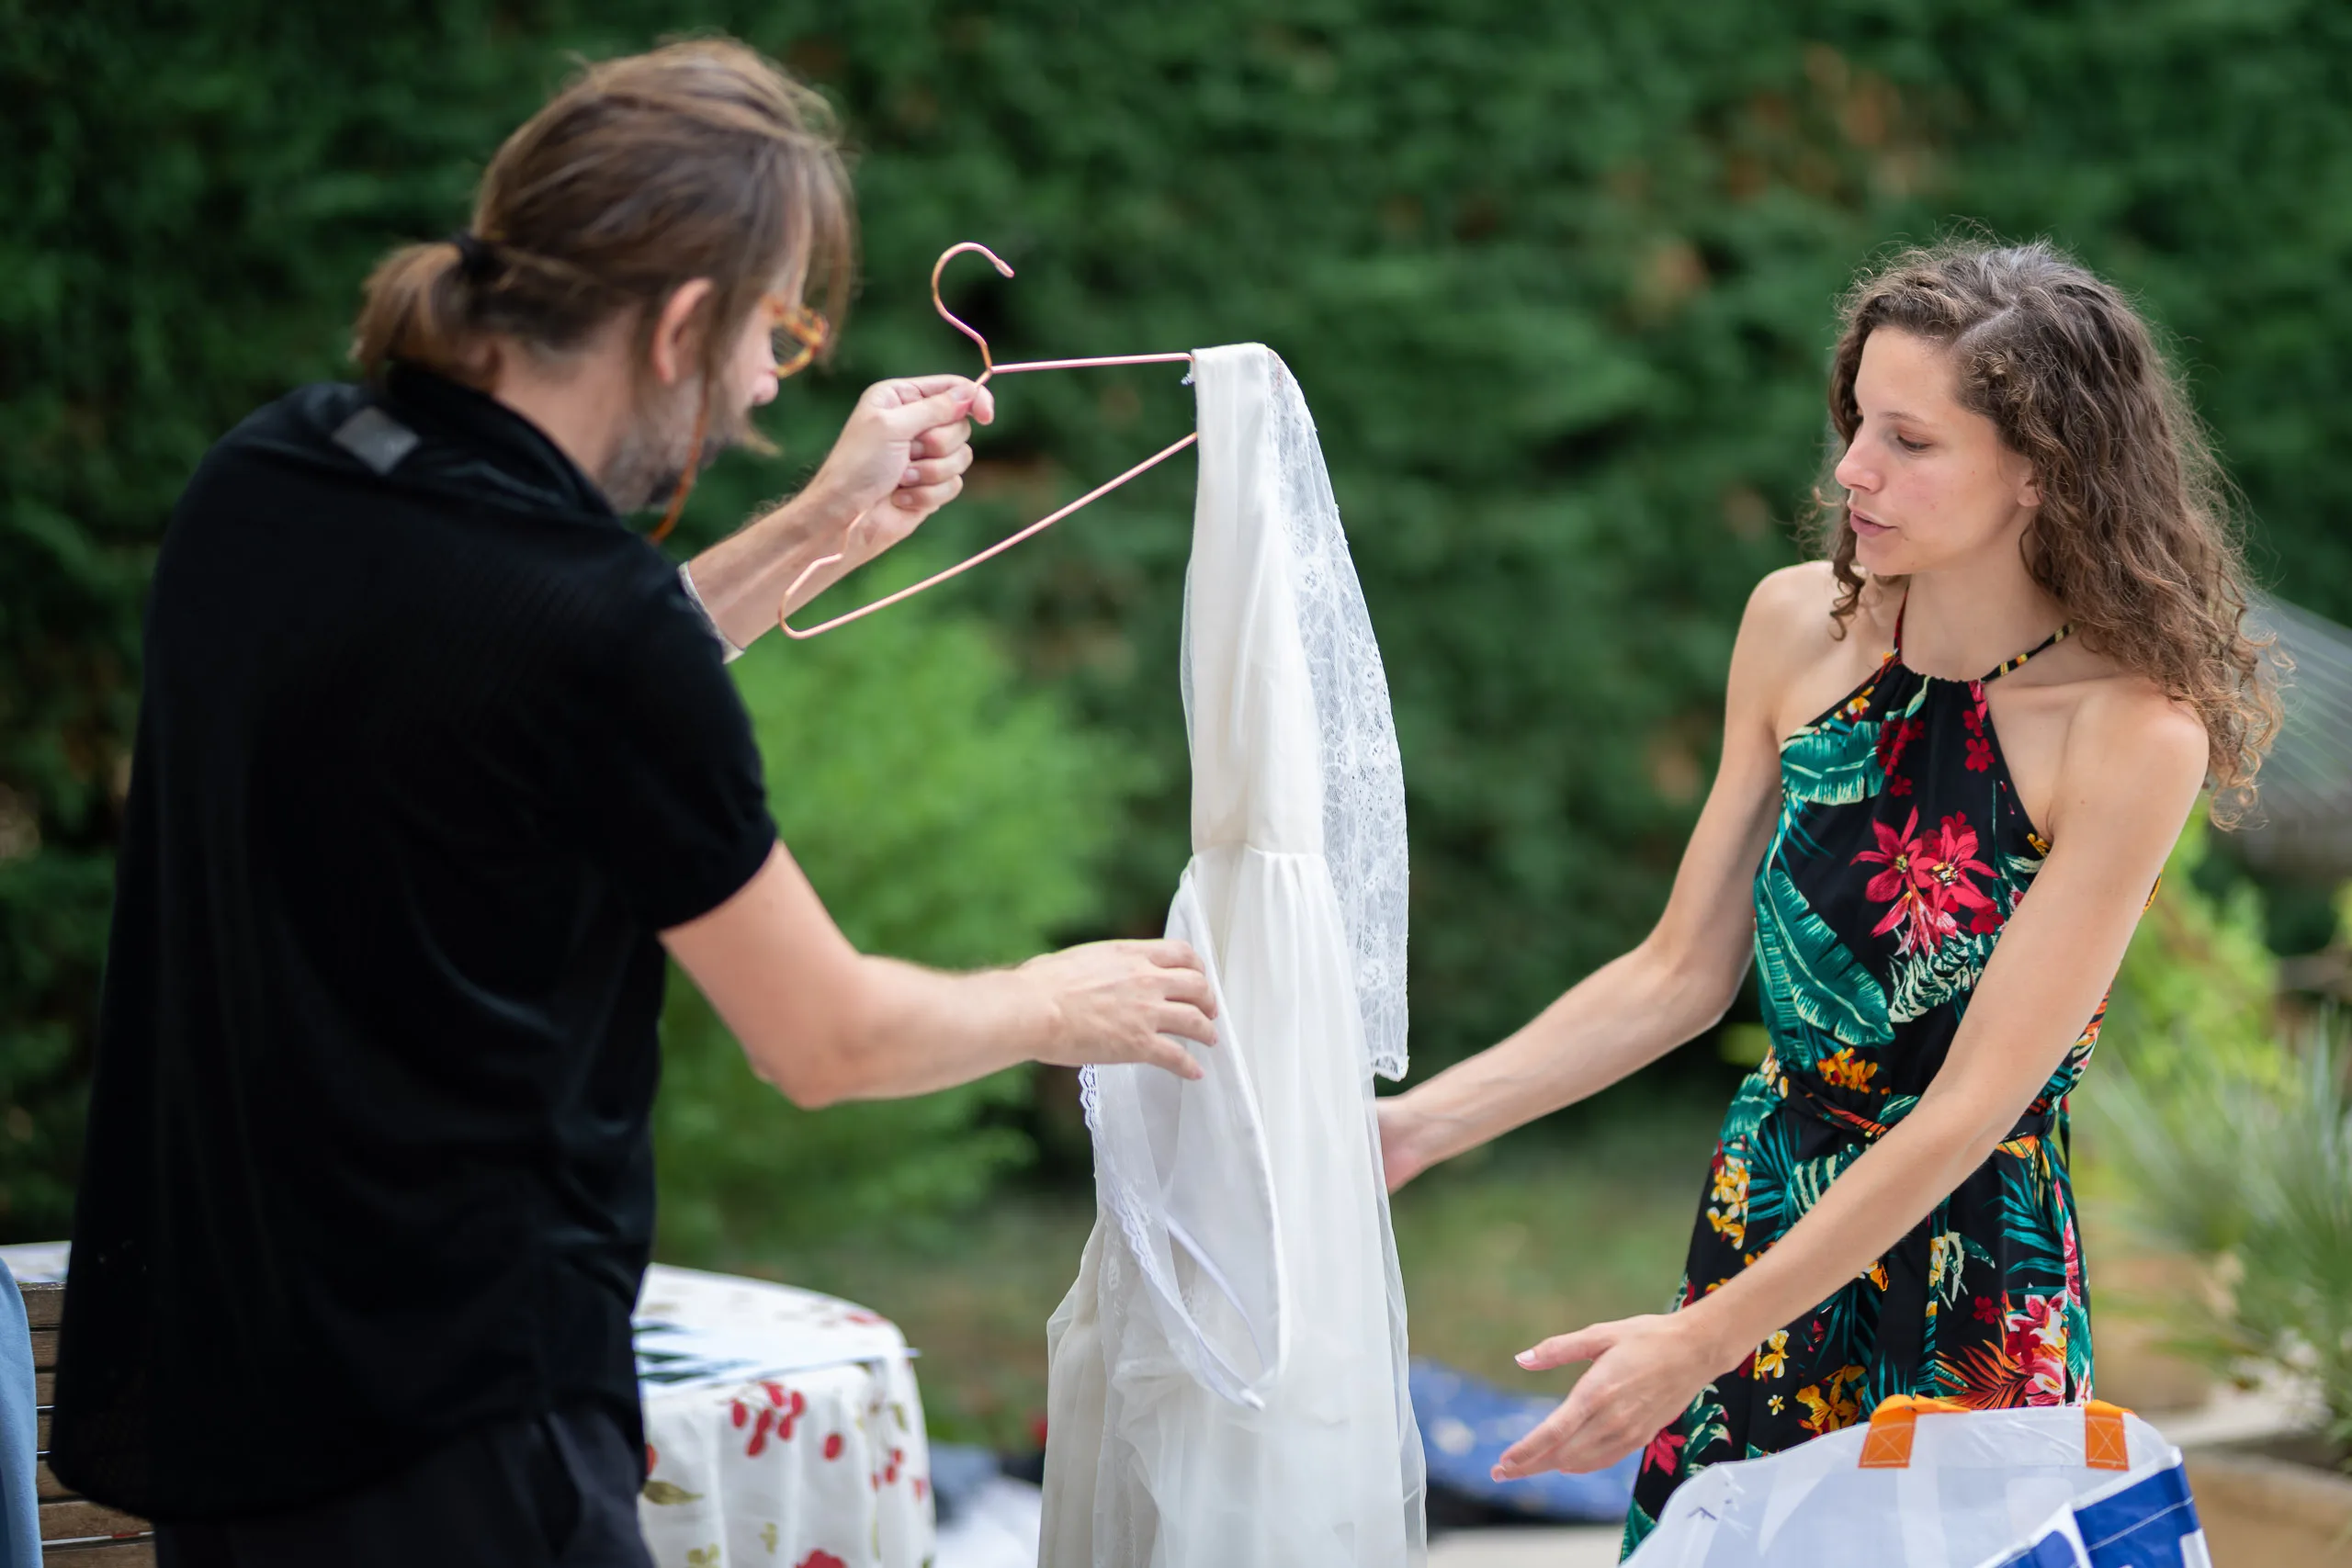
- Choose well-fitting outfits, ones you feel comfortable in. Underwater, fabric floats and drifts: clothes that are too loose can cover your face. I also have a collection of gowns, bodysuits, draped fabrics and lingerie you’re welcome to use.
- Makeup: go for light, waterproof makeup, or none at all. Regular mascara runs quickly.
- Contact lenses: take them out before getting in the water, or you could lose them when you open your eyes.
- Bring warm clothes for after the session: even in 85°F (29.5°C) water, you always end up getting cold.
The briefing
A lot of photographers reassure their model before a session: “It’ll be fine, you’ll see.” I do the opposite. Underwater shooting is extremely hard: every professional model I’ve worked with has told me, “That’s the hardest thing I’ve ever done.” For a beginner who was promised it would be easy, the session can quickly turn frustrating.
So I’m upfront from the start: it’s very, very hard, and I explain why. There are four challenges to master. That way, there are no unpleasant surprises, and every time the model overcomes one, I tell them right there in the water. Everyone can see their own progress, and in the end, everyone enjoys the session.
1. Breathing
The goal isn’t to set a breath-hold record: you only need to hold a pose for a few seconds underwater. The real challenge is elsewhere: finding the right amount of air in your lungs. With too much air, you float up and bob at the surface like a cork; with too little, you sink and end up flat on the bottom. Either way, there’s no picture. In between, rising or sinking slightly isn’t a problem. But since the pool isn’t very deep, the margin is small.
The trap is a natural reflex. Underwater, an environment we’re not built for, the “reptilian” brain switches into survival mode and makes you take a big breath before going under. That’s exactly what you shouldn’t do.
The right technique is simple: take a normal breath, then breathe out for a second or two before going under. In my experience, after 10 to 15 minutes, every model finds the right amount of air and sinks down effortlessly.
2. Facial expression
When you put your head underwater for the first time, the reptilian brain takes over again. In survival mode, you puff out your cheeks or purse your lips to hold in the air: that’s what I call “the hamster” or “the duck face.” Unless they’re headed for a blooper reel, those images end up in the trash.
So the second challenge is becoming aware of that reflex in order to control it, and keeping a natural, relaxed face underwater. The best way to get there is to see yourself: when I catch a hamster, I show the photo on the camera screen, right there in the water. Plenty of models swear to me, “No, no, I didn’t do the hamster!” before bursting out laughing at the sight of their face.
3. Body positions
Models used to shooting on land know how to hold a pose and fine-tune it with small adjustments. Underwater, that’s impossible. Weightless in midwater, the body tips one way or the other depending on where its center of gravity is and how it moves: no pose lasts more than a second. You have to accept that.
That’s the whole art of underwater posing: flowing from one pose to the next, so that the movement between them keeps the body stable in the water. And those movements have to be slow, very slow, “Matrix-style,” like in the movie. A movement that’s too fast creates water pressure that distorts the skin, and the result is never flattering.
4. Communication
On a regular shoot, the model and photographer talk constantly: “chin up,” “look at me,” “look off into the distance,” “move your hand”… Underwater, you can’t talk. All the directions about positioning and expression are given at the surface, before each dive.
And once underwater, the brain goes back into reptilian mode: we all get a little slow. If I give ten directions, only two or three will actually be followed. So there’s no point aiming for complicated poses that are almost impossible to control: better a simple, well-understood idea that you repeat until you nail it.
What about posing as a pair?
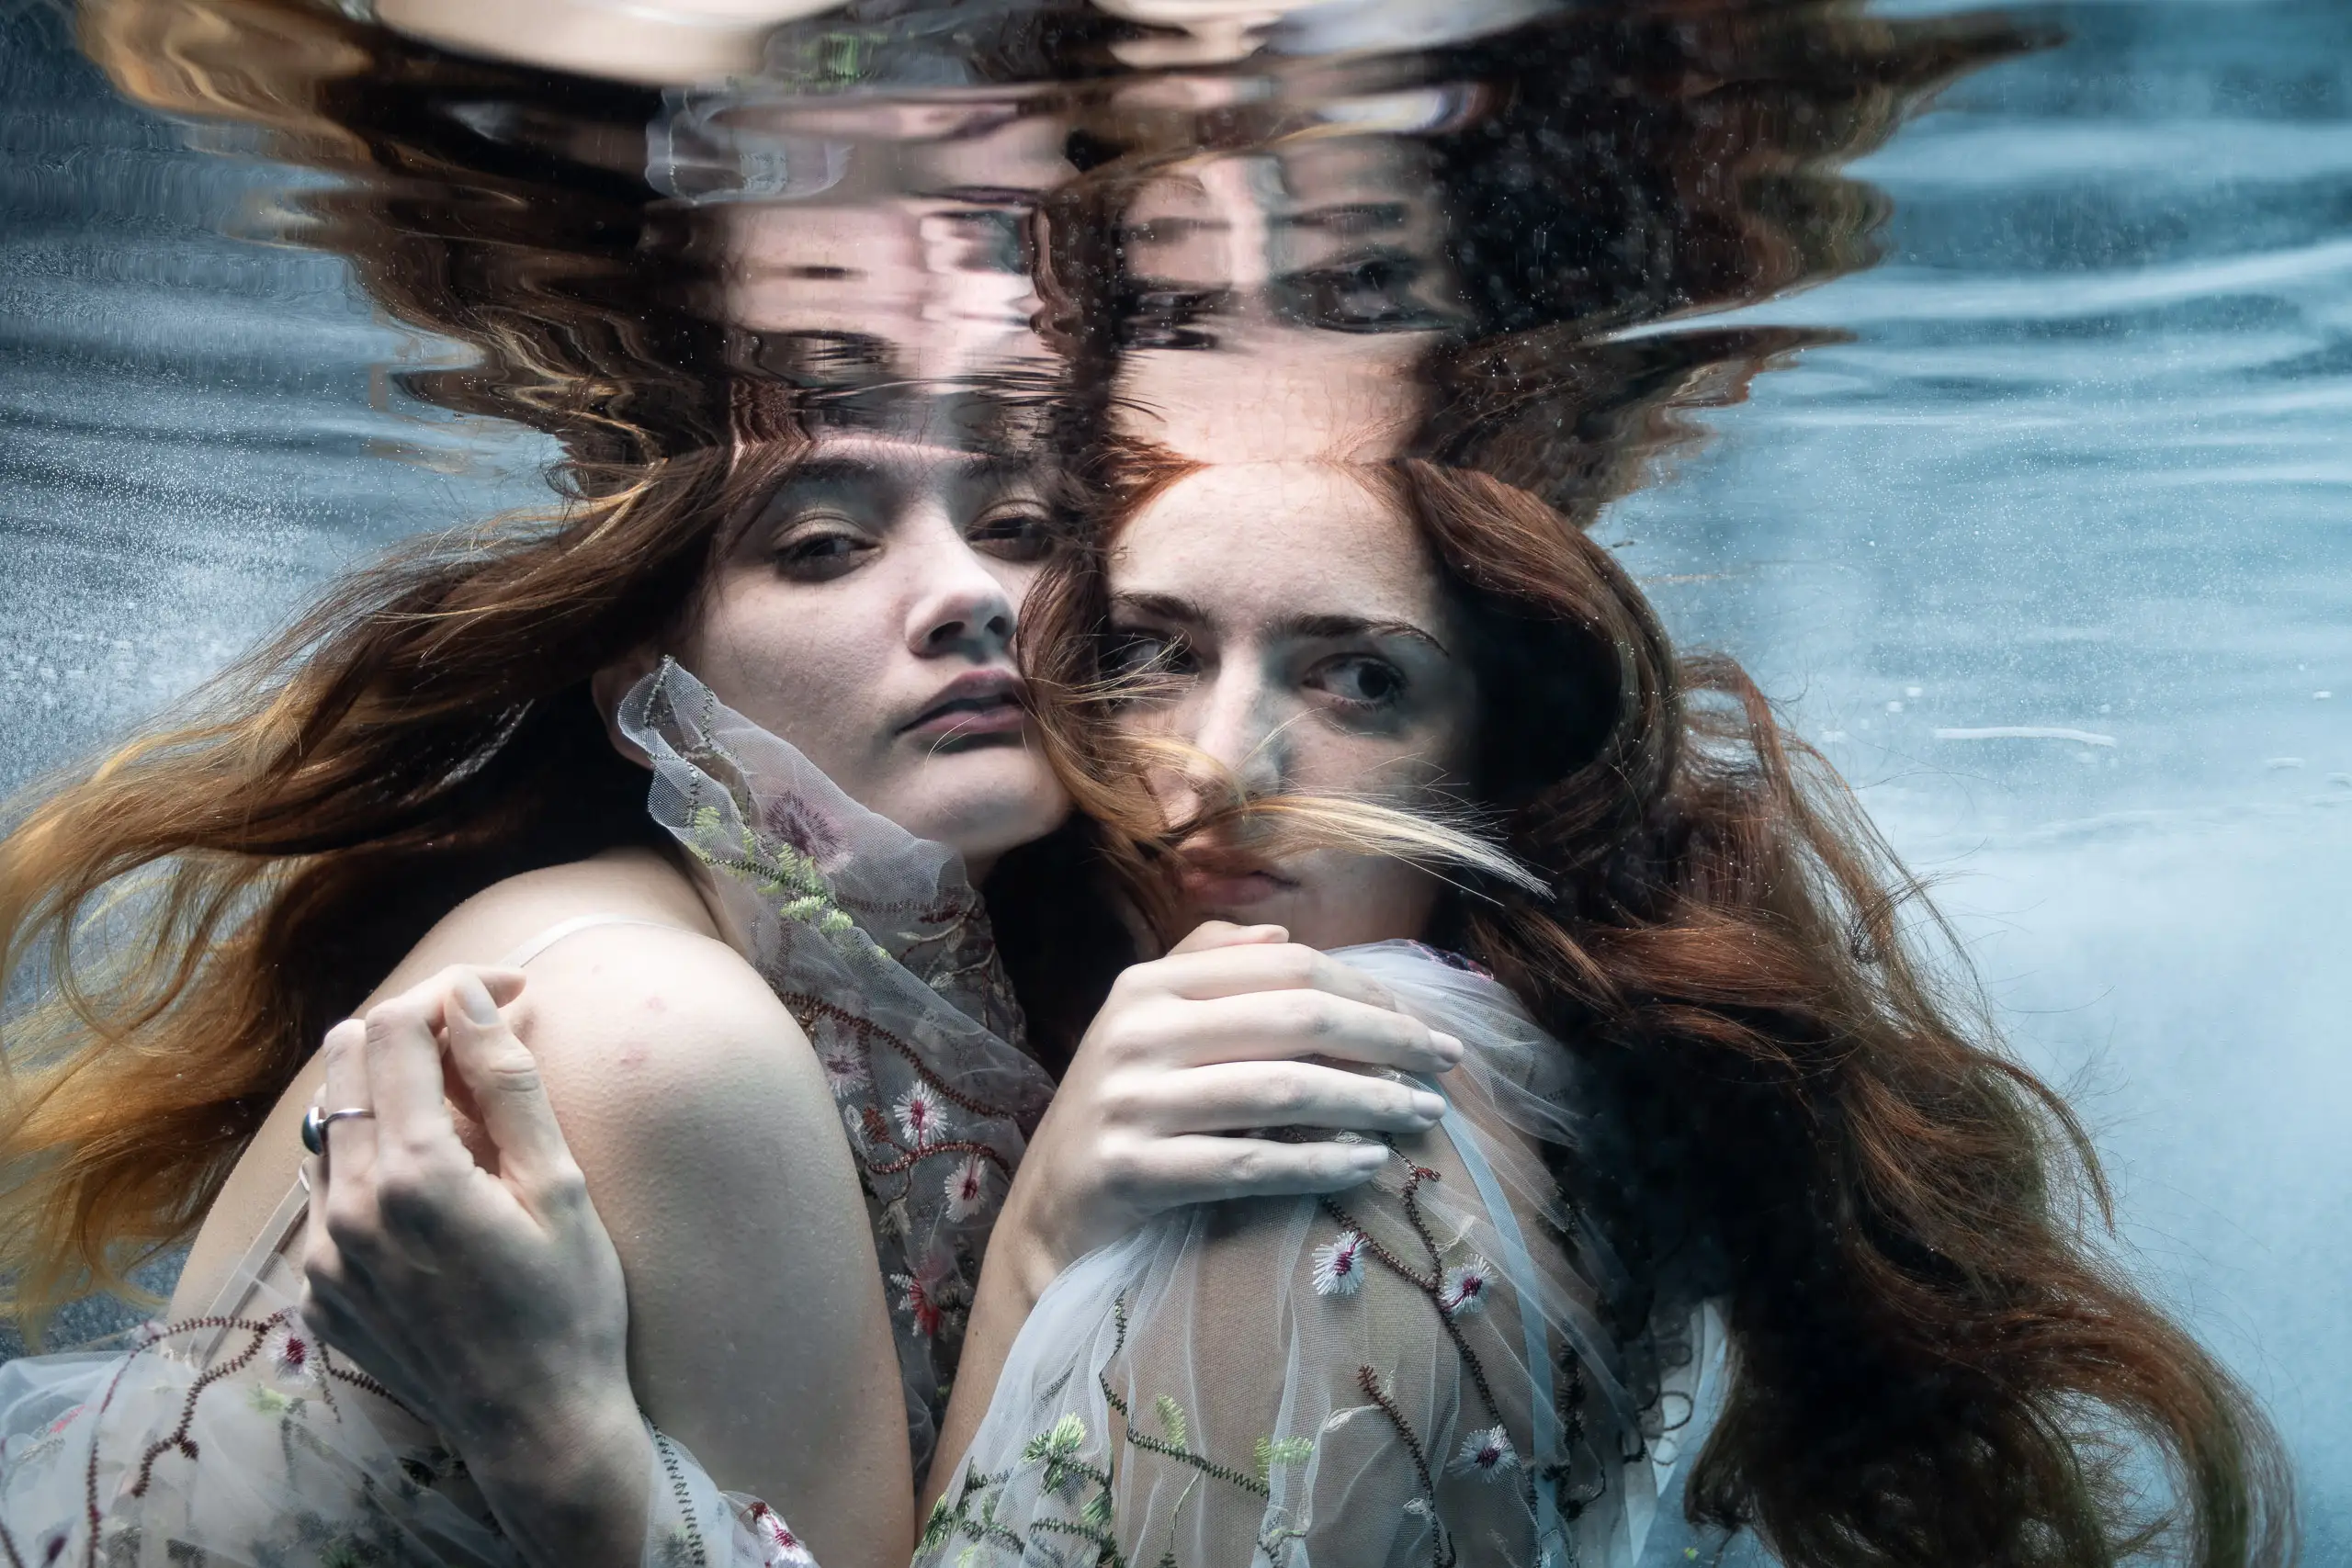
Posing as two or more people underwater for the same image isn’t twice as hard: the difficulties are squared. That’s something to keep in mind for a first shoot. So I never have two people pose together right away: I photograph them one at a time first to see how each one does, then we build the image together.
Who does best?
After more than ten years of pool shoots, I can put together a rough tally of who does best on their first session:
- artistic swimmers with solid experience, who are naturally excellent in the water;
- dancers at a high level, or professionals: they’re used to holding a pose or movement for a very short time, the length of a step or a leap, and that skill carries over underwater;
- actresses, who have excellent control of their faces and keep command of their expressions, even underwater;
- regular swimmers, who manage their breathing well and are often naturally at ease in the water.
If you don’t fit any of these categories, that doesn’t mean you won’t do well. Over the years, plenty of models with no experience at all, who never went to the pool, have given me stunning images on their very first session.
The photo technique, from the model’s side
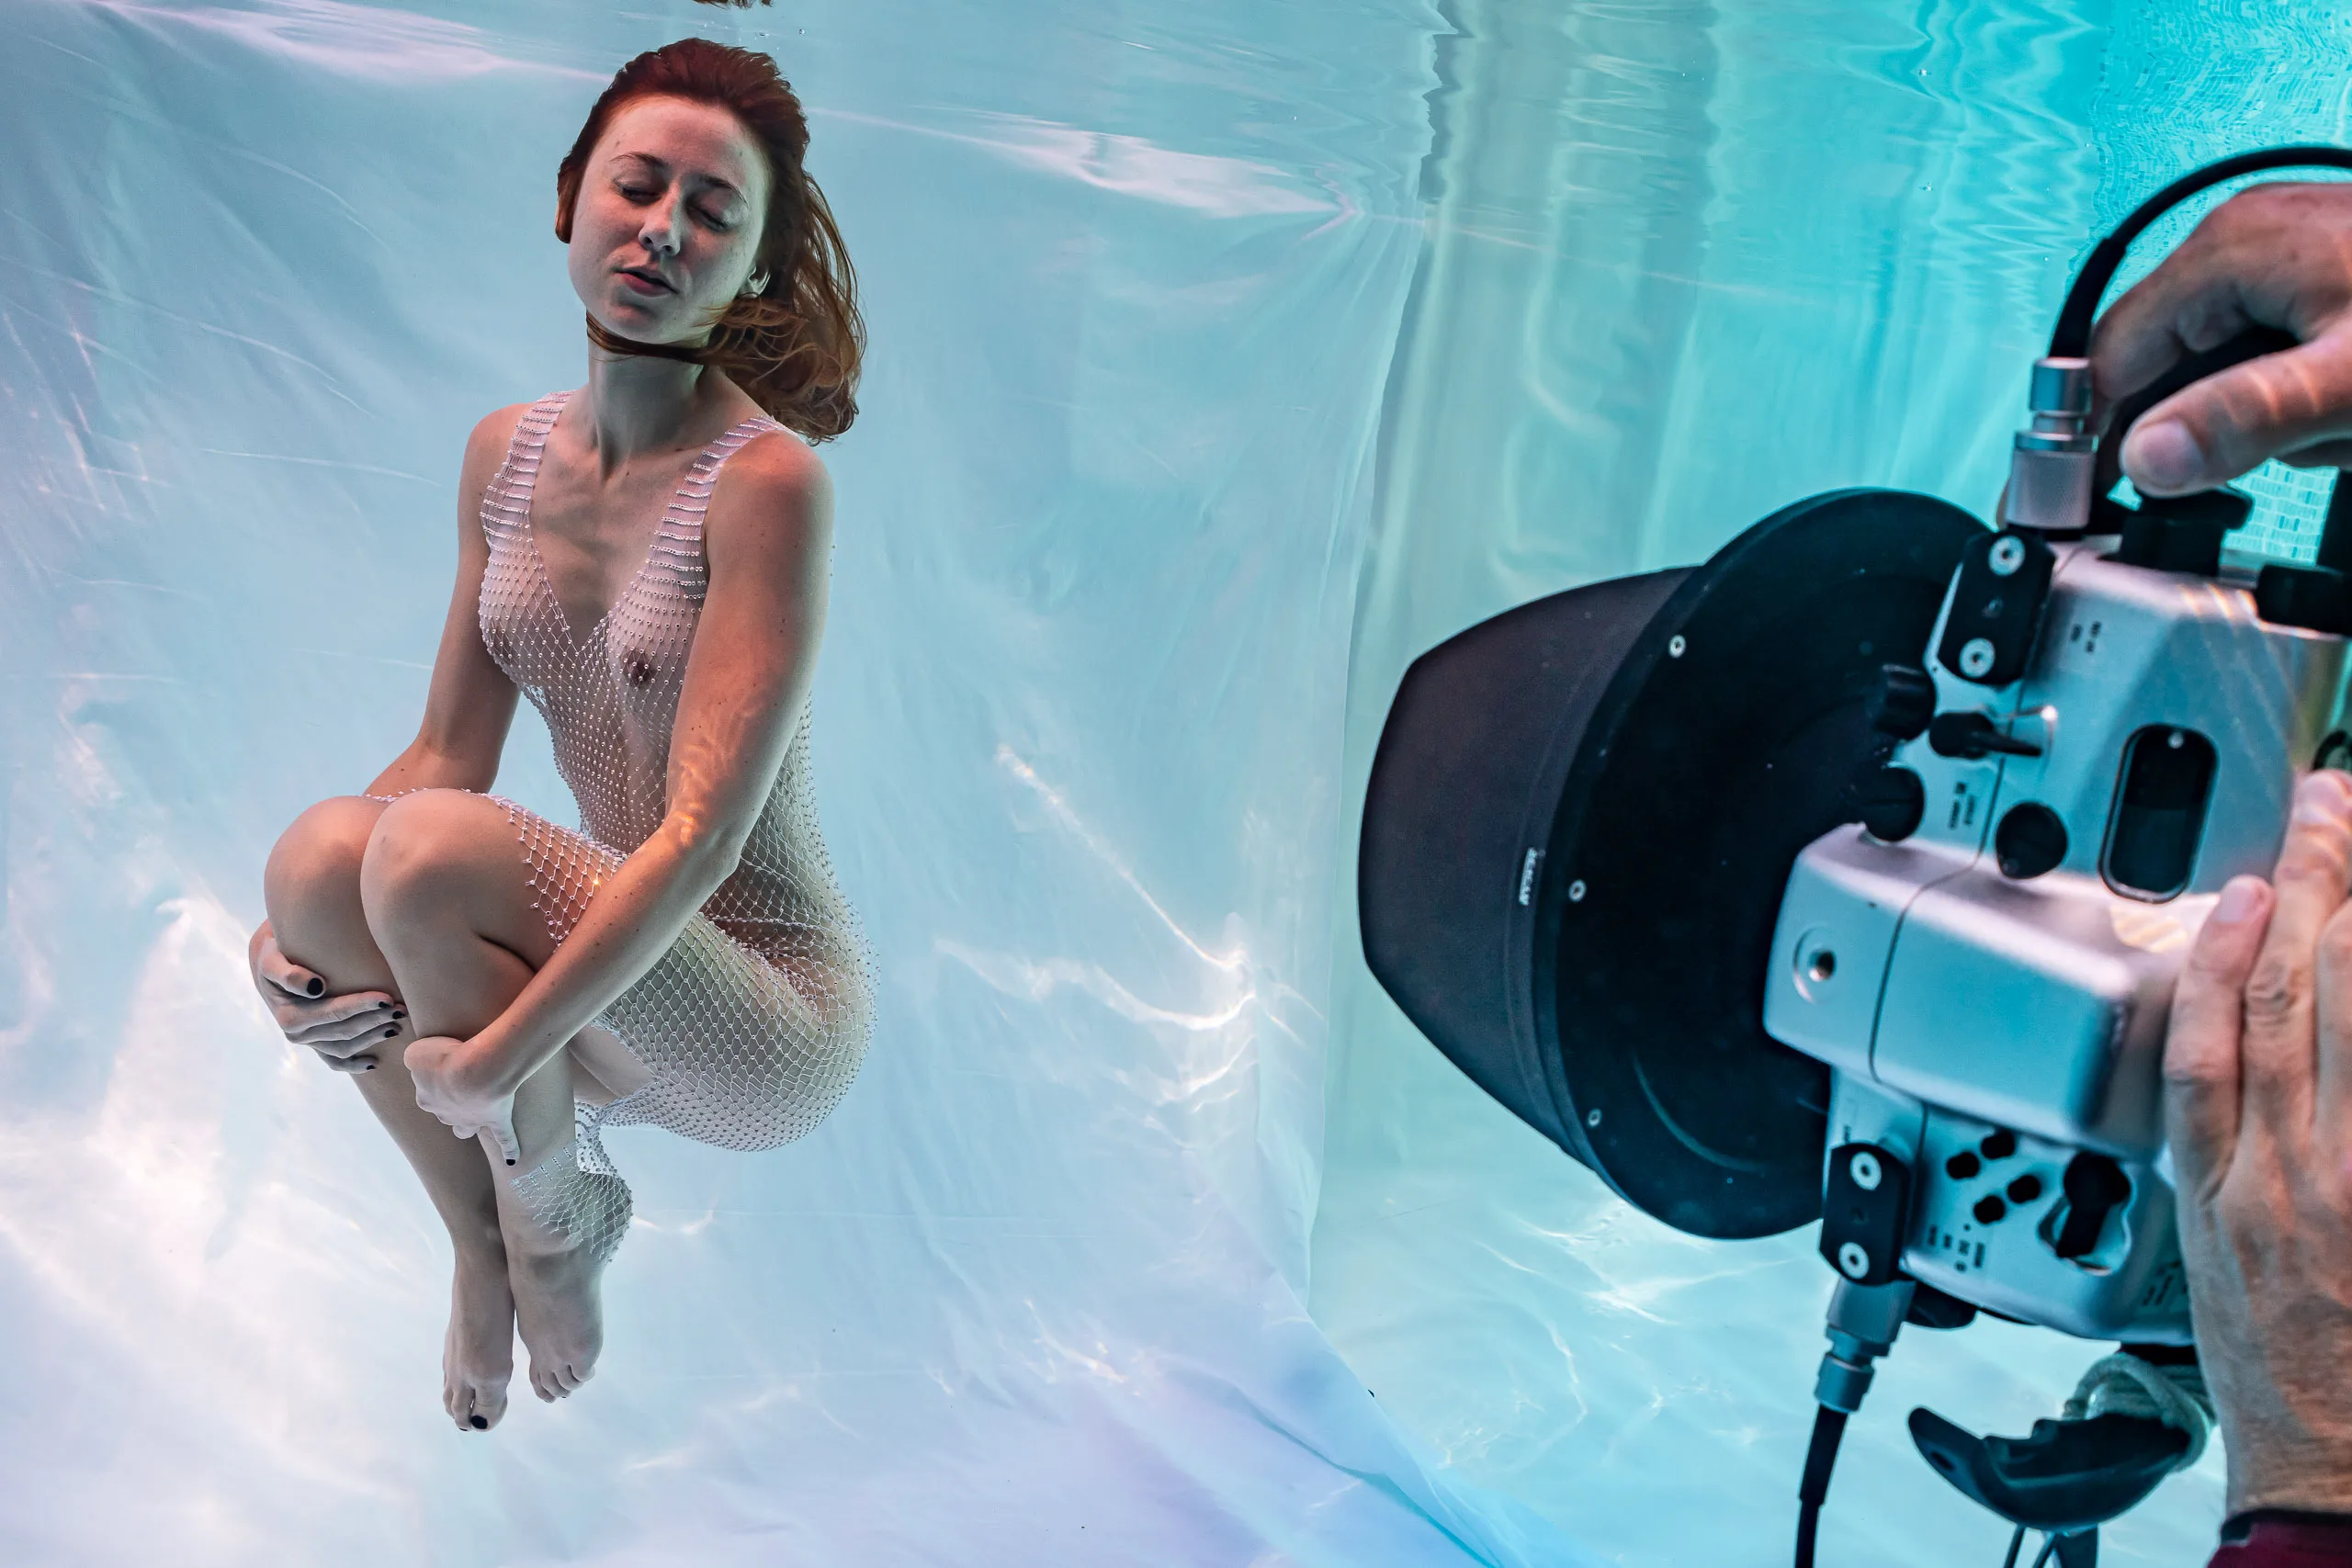
Underwater, colors fade with distance: the more water between the model and the camera, the more the skin shifts toward blue-green (I explain this in detail in the article on white balance in the pool). So I work very close, with a wide-angle lens, usually at 20mm. The model needs to come toward the lens and stay in the lit area.
Working this close comes with an important rule: keep your body and limbs in a plane parallel to the camera’s sensor. A 20mm lens heavily distorts anything that gets close to it: a hand or leg reaching toward the lens will look two or three times bigger than the face. That can work for some images, but it’s rarely flattering. So I ask models to move as if along an invisible pane of glass facing the camera, rather than toward it.
In the water
A session usually lasts a good hour, but it all depends on the person. Even in water close to 86°F (30°C), everyone ends up getting cold, and tolerance varies enormously from one person to the next: in the same water, some models have lasted 25 minutes, others two and a half hours. Body type plays a part, of course, but so does each person’s natural resilience.
The session is a series of breath-holds lasting 10 to 30 seconds for those who can hold the longest, during which we do one or more poses. Between breath-holds, you come up, take time to breathe properly, and we go over what worked and what we can fix on the next one.
For each outfit, I usually shoot three framings:
- a vertical framing, with the model standing or with knees bent;
- a horizontal framing, with the model fully stretched out, near the surface;
- close-ups, from mid-thigh up or tighter.
Depending on how comfortable the model is, these three framings take 10 to 30 minutes. Then we change outfits, unless one doesn’t work in the water, and so on until the cold calls an end to the session.
Every time the model masters one of the four challenges, I tell them. That’s what makes the progress visible. And I’ve never seen anyone finish a session at the same level they started: there’s always progress, faster or slower depending on the model.
Afterward
Out of the pool, it’s straight to the bathroom for a nice hot shower. Then we get together over a hot drink to talk about the session.
Because despite the challenges, an underwater session is above all a game. There’s a lot of laughter, you surprise yourself, you discover new sensations, and every small victory counts. It’s an experience you don’t forget, and it leaves you with beautiful images to keep for a lifetime.
Have more questions? Check out the FAQ or take a look at my services.