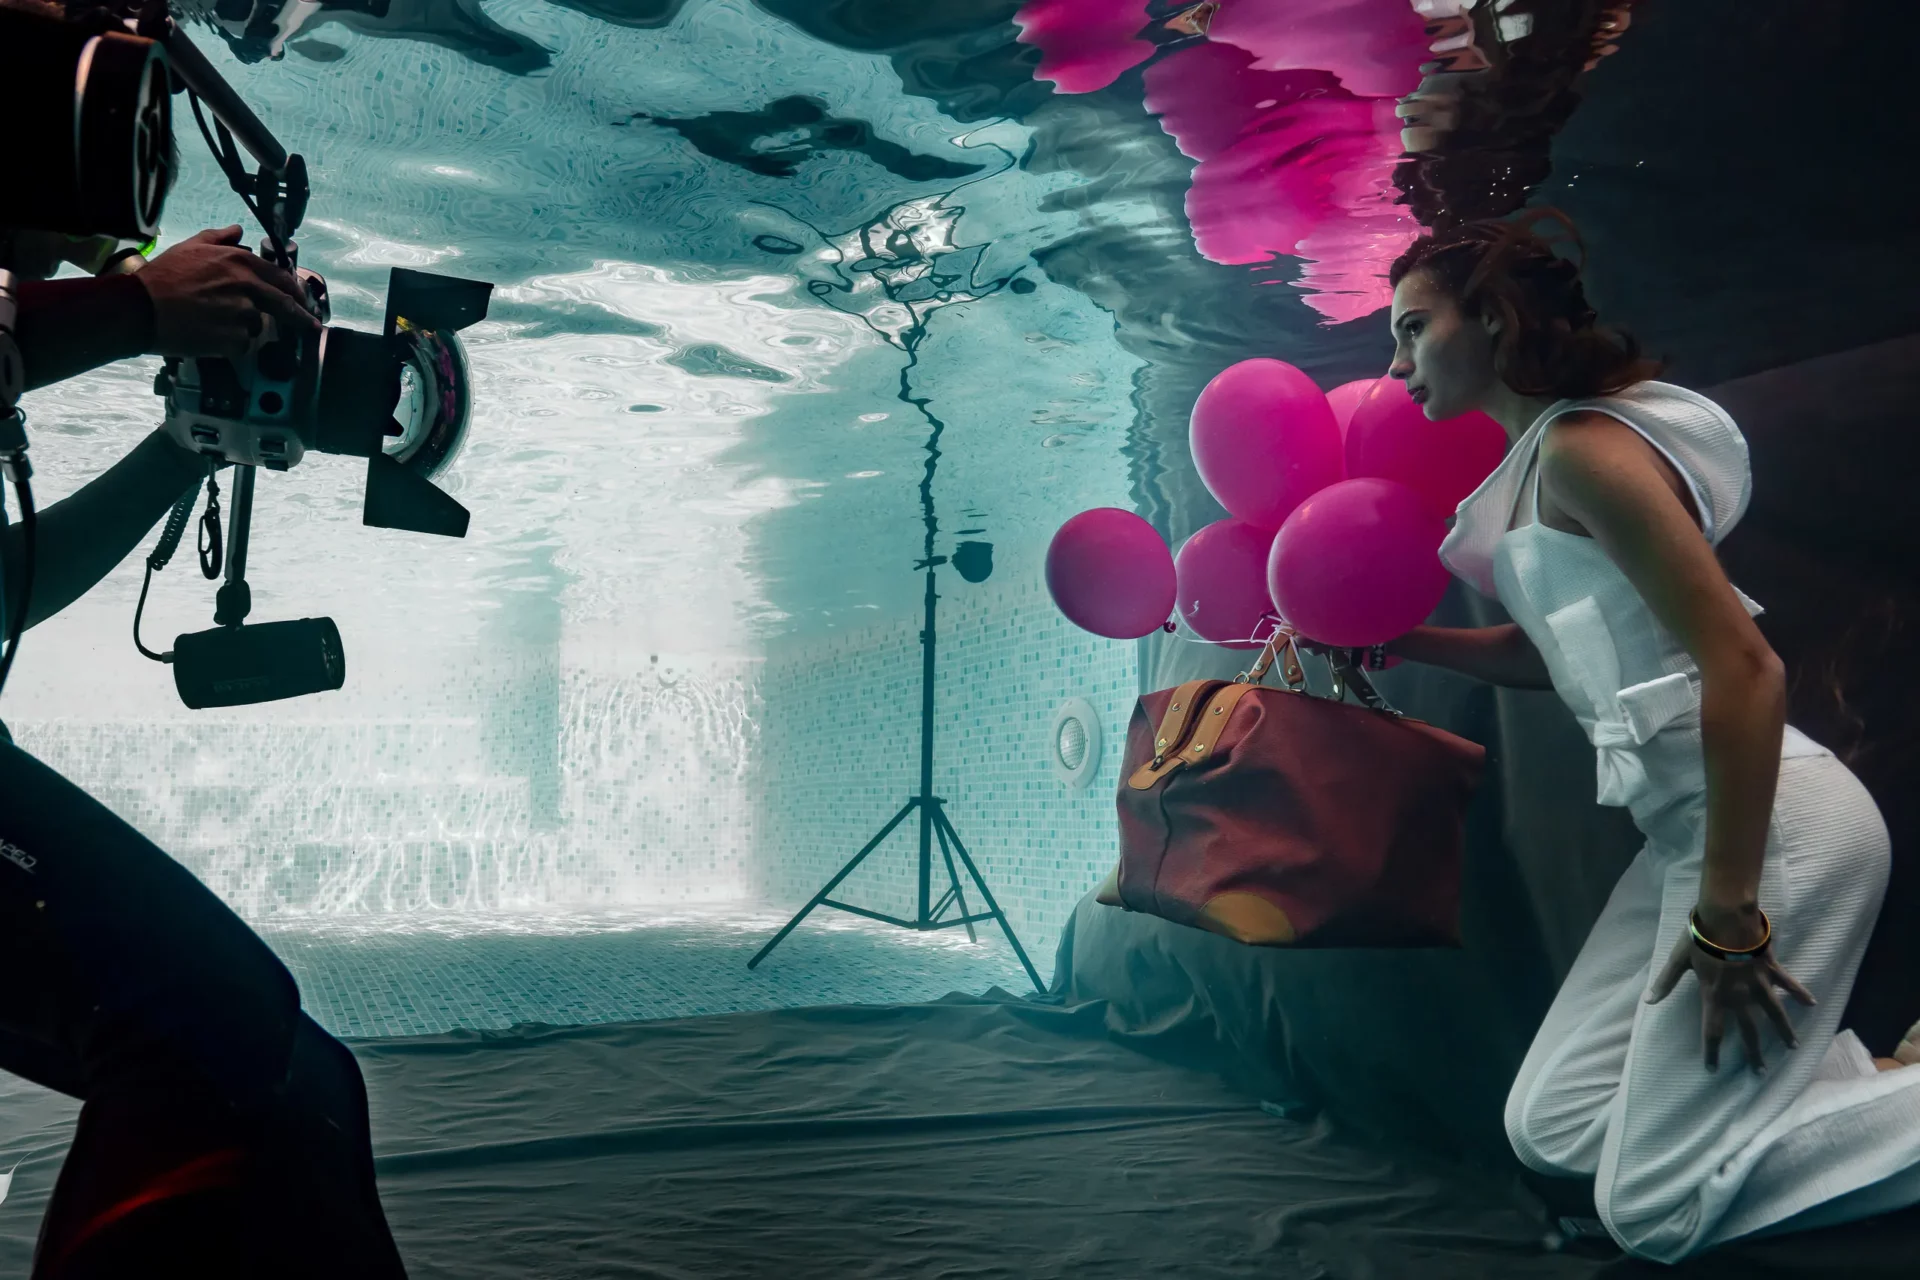
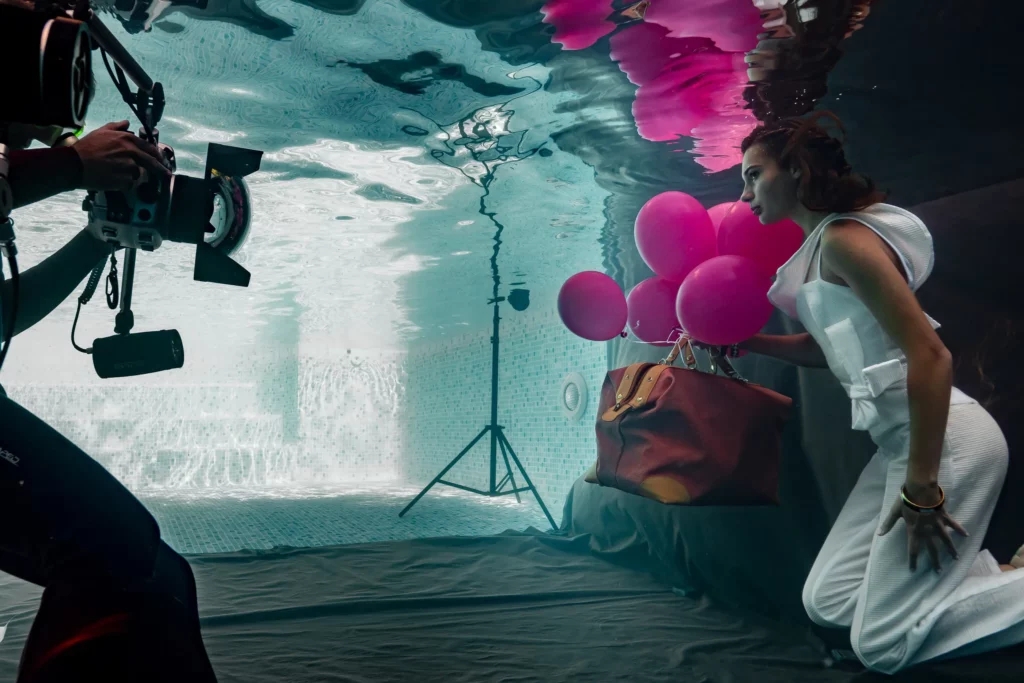

In a pool, color is a constant challenge. A white balance that’s right in one part of the image is often wrong somewhere else, and skin tones, so important in portraiture, are the first to suffer.
Water eats colors
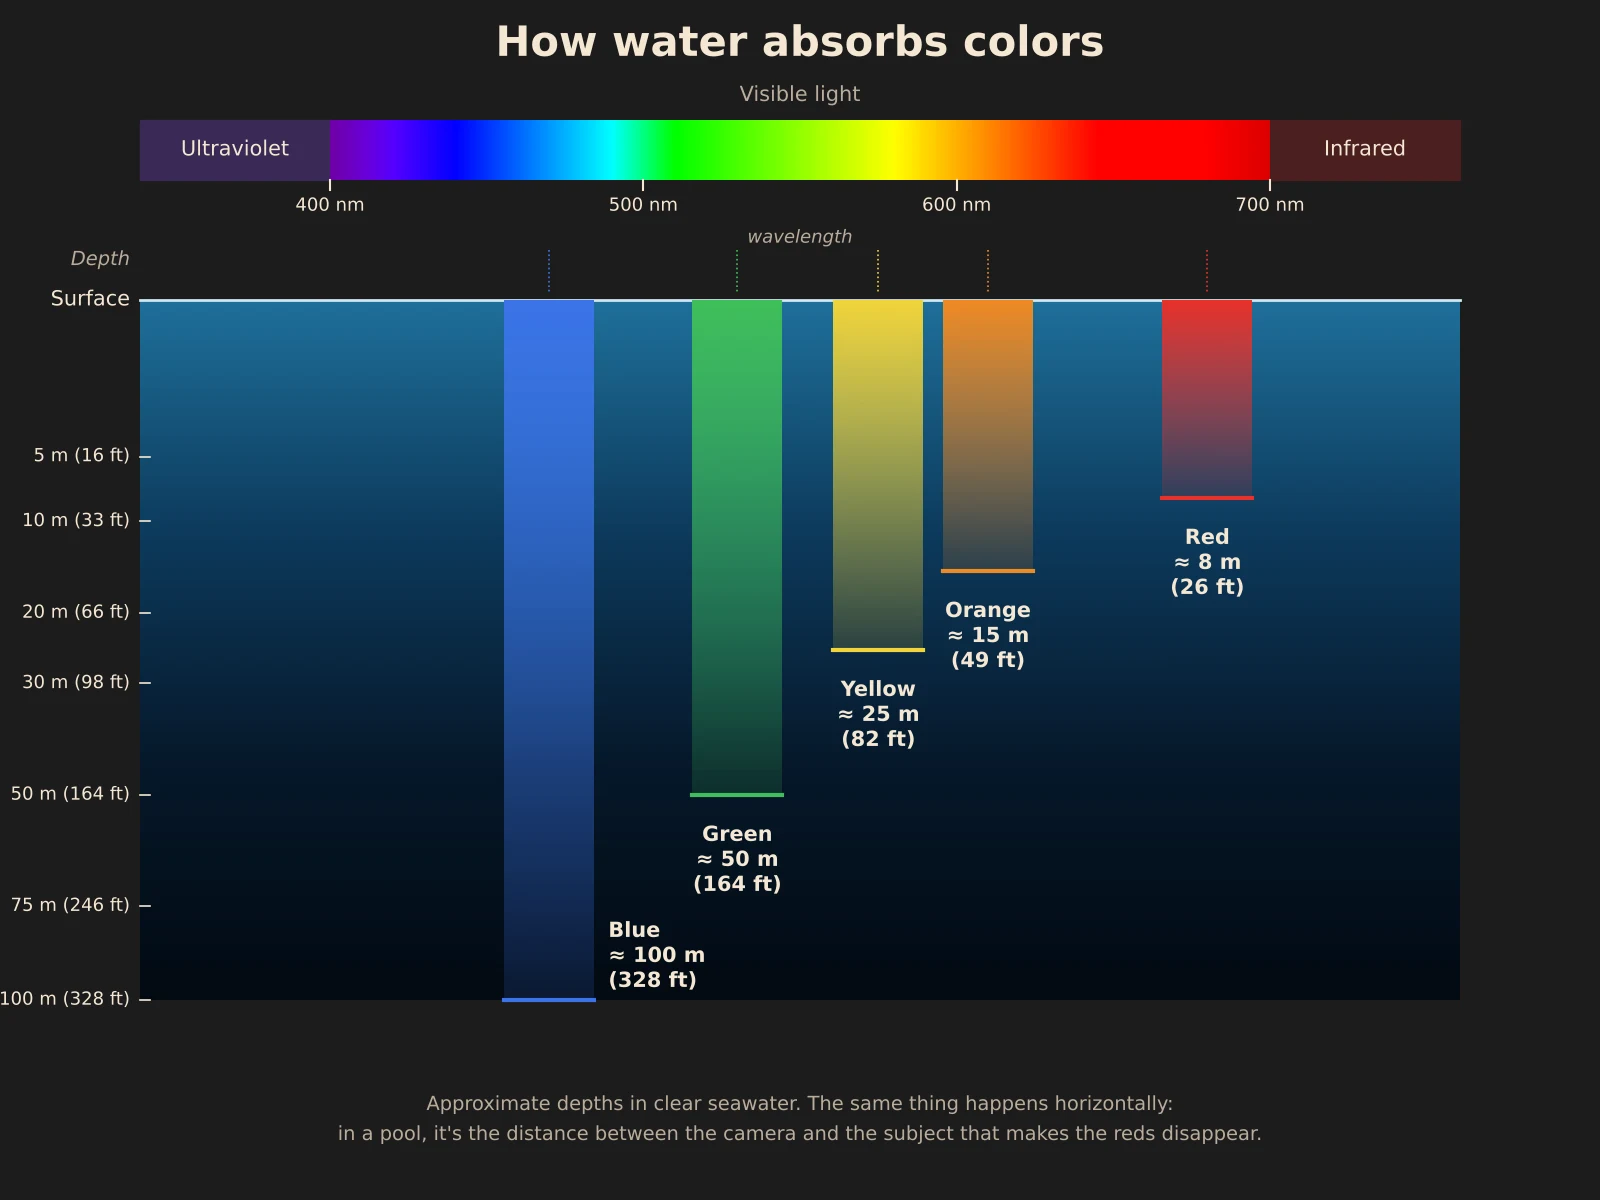
Water absorbs light selectively: reds disappear first, at around 25 feet (8 m), followed by oranges, yellows and greens. Only blue penetrates deep, which is why water looks blue. Even in shallow water and at short distances, skin lit by daylight quickly takes on a blue-green cast. The farther the subject is from the lens, the more water the light travels through and the stronger the shift: a hand reaching toward the camera won’t be the same color as the face three feet behind it.
Distance, the enemy of color
What matters isn’t just depth, but the total distance light travels through water. Take a common setup: the model is 6.5 feet (2 m) from the camera, and two lights are placed on either side of the photographer, also 6.5 feet from the model. The light first travels 6.5 feet to reach the model, then another 6.5 feet back to the sensor, for a total of 13 feet (4 m) of water. By then, red has lost about 50% of its strength, and the model’s skin looks blue-green.
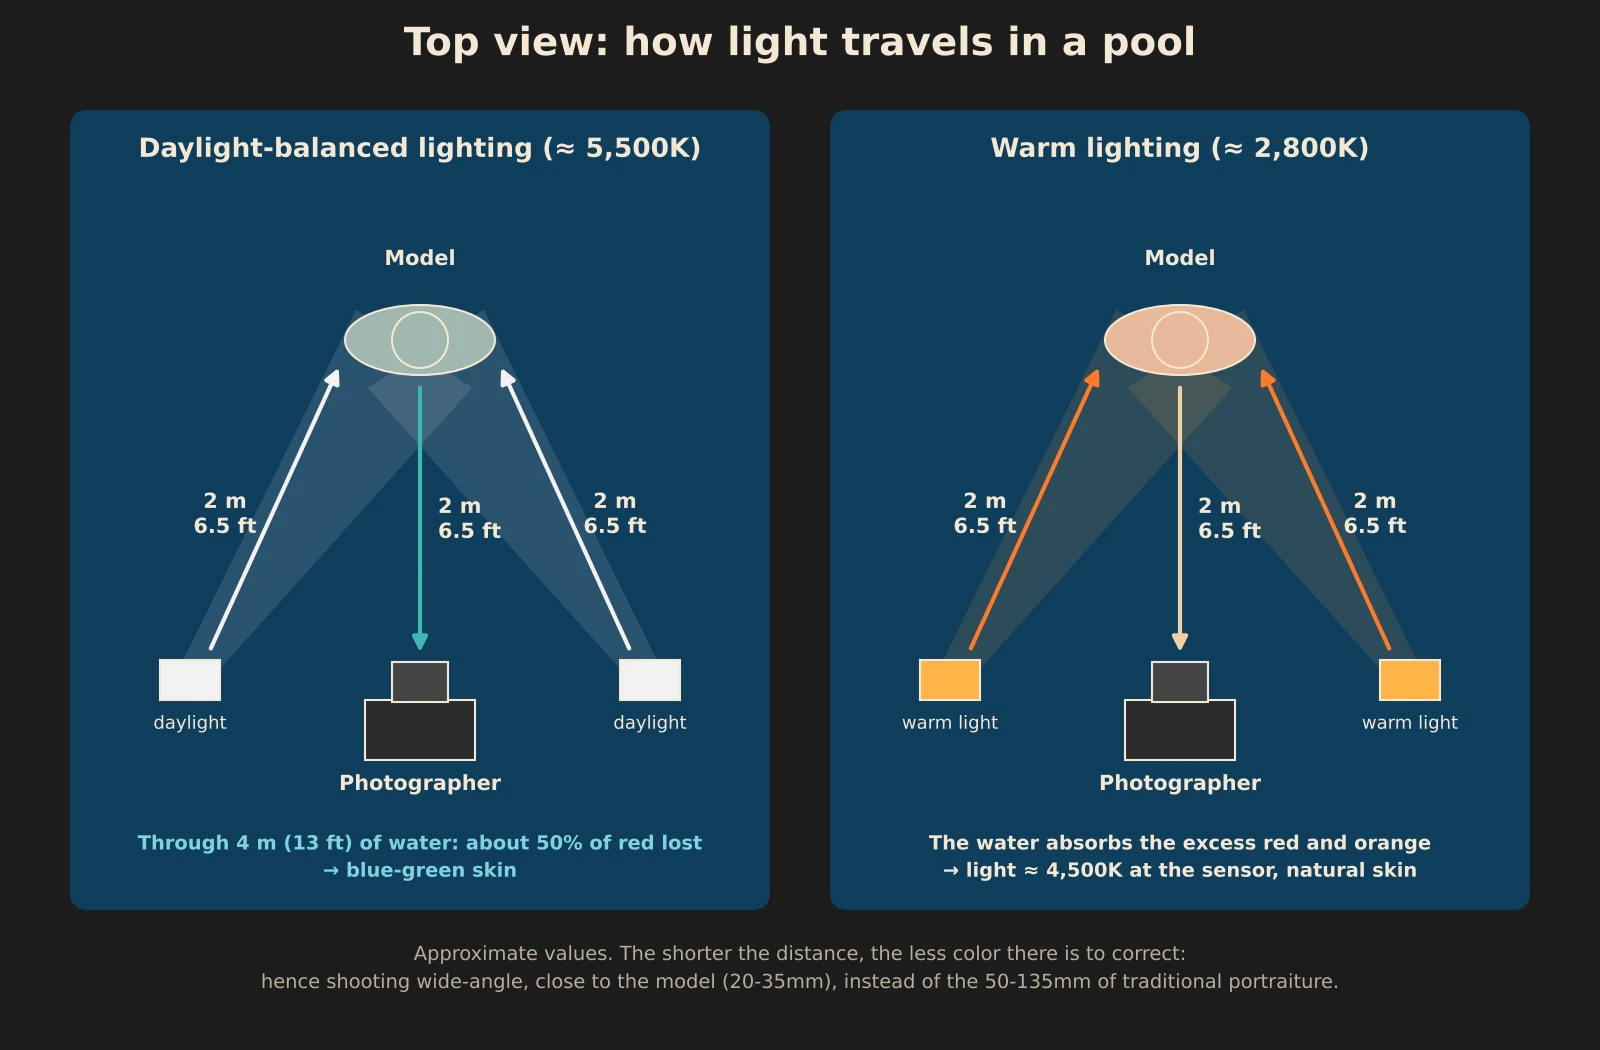
That’s why, if you don’t want to spend all your time correcting images, you work close to the model with a short focal length: I use a 20-35mm zoom, a modified Nikonos RS, whereas traditional portraiture is usually shot between 50 and 135mm.
If you have to back off, you can compensate at the source by using warm lights underwater, around 2,800K, rather than daylight-balanced lights. They emit more red and orange to begin with; the water’s absorption does the rest, and the light reaching the sensor is nearly white, around 4,500K.
The pool liner and reflections
A pool isn’t a neutral studio. The liner, usually blue, casts a color tint on everything around it, and the surface acts like a mirror reflecting the bottom and the walls. That’s why I often work with a black or white backdrop in my underwater studio: it cuts down on those stray reflections and gives the images a more neutral base.
Mixed lighting
My pool is outdoors. Depending on the time of day, daylight changes direction, intensity and color, from harsh afternoon sun to the warmer light of early evening. I combine it with topside lighting, two underwater video lights and two underwater strobes, whose color temperatures aren’t exactly the same. So the face can be lit by a strobe while the body and the background are bathed in daylight filtered through the water: two different white balances in the same image.
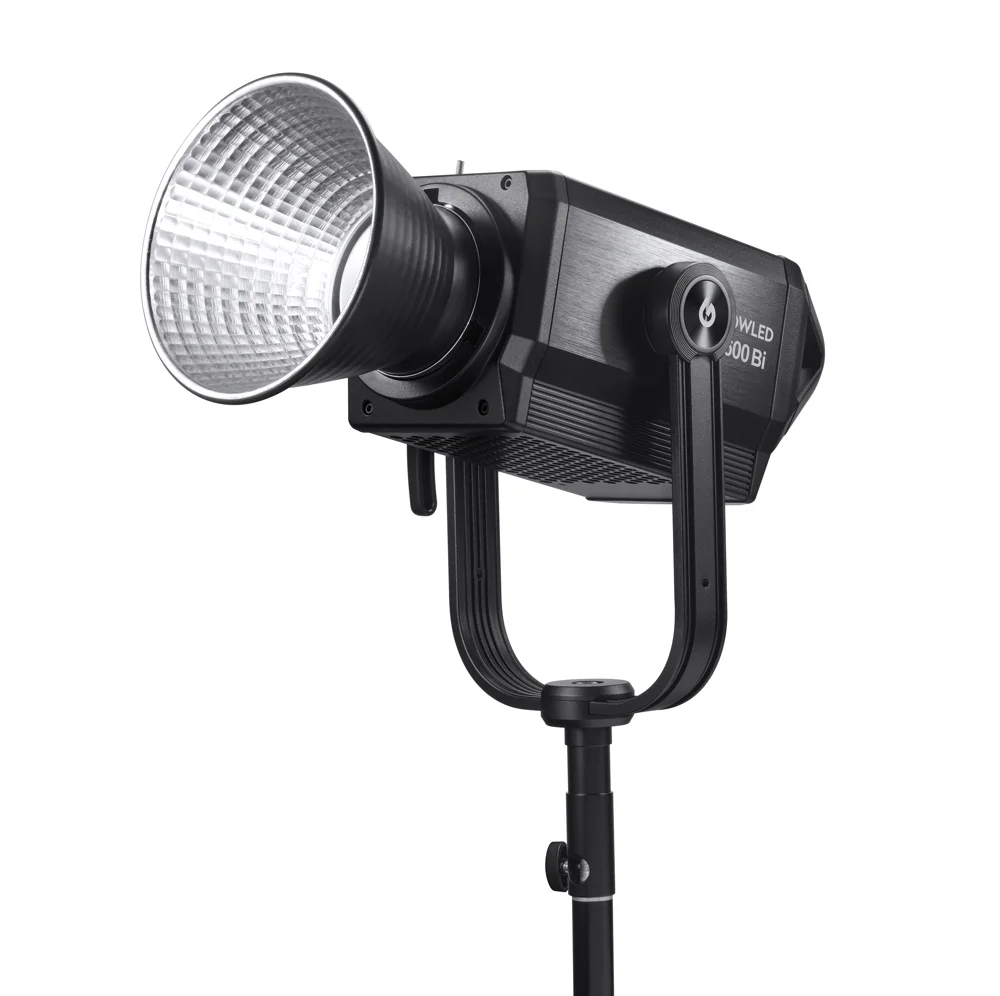
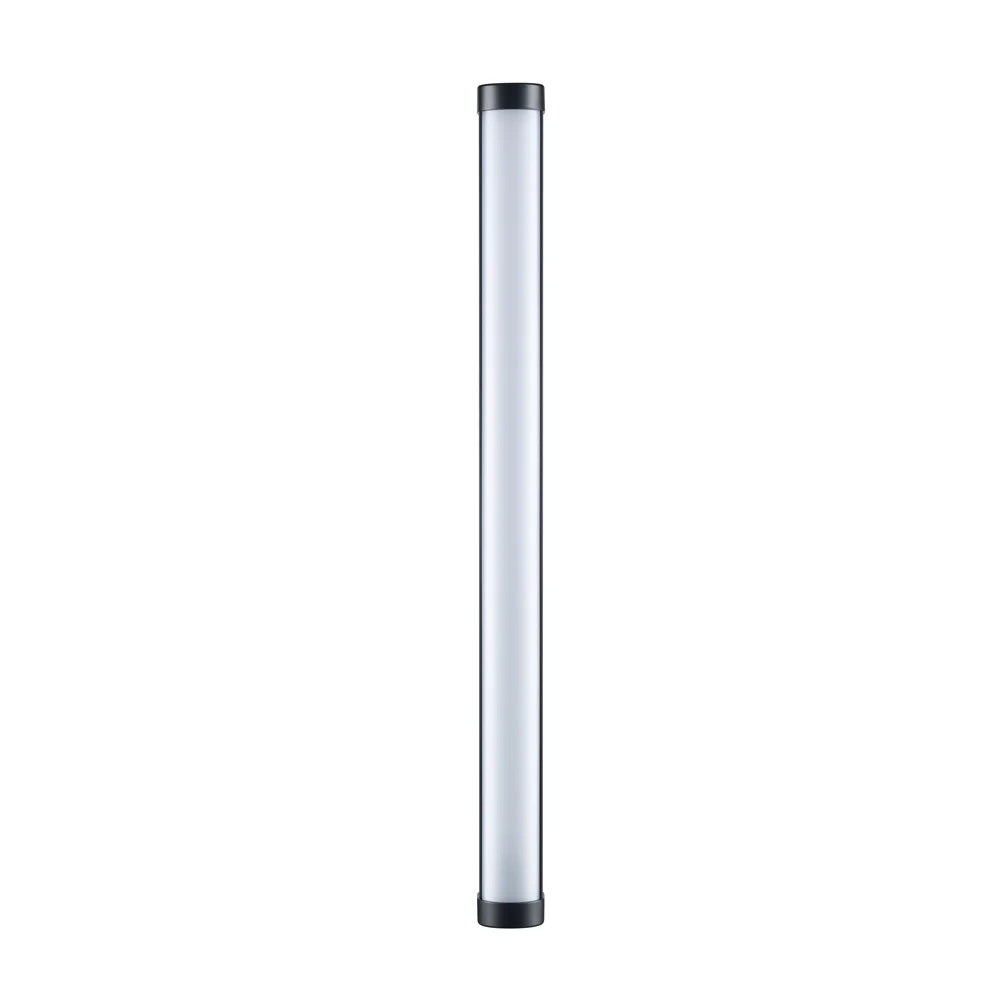
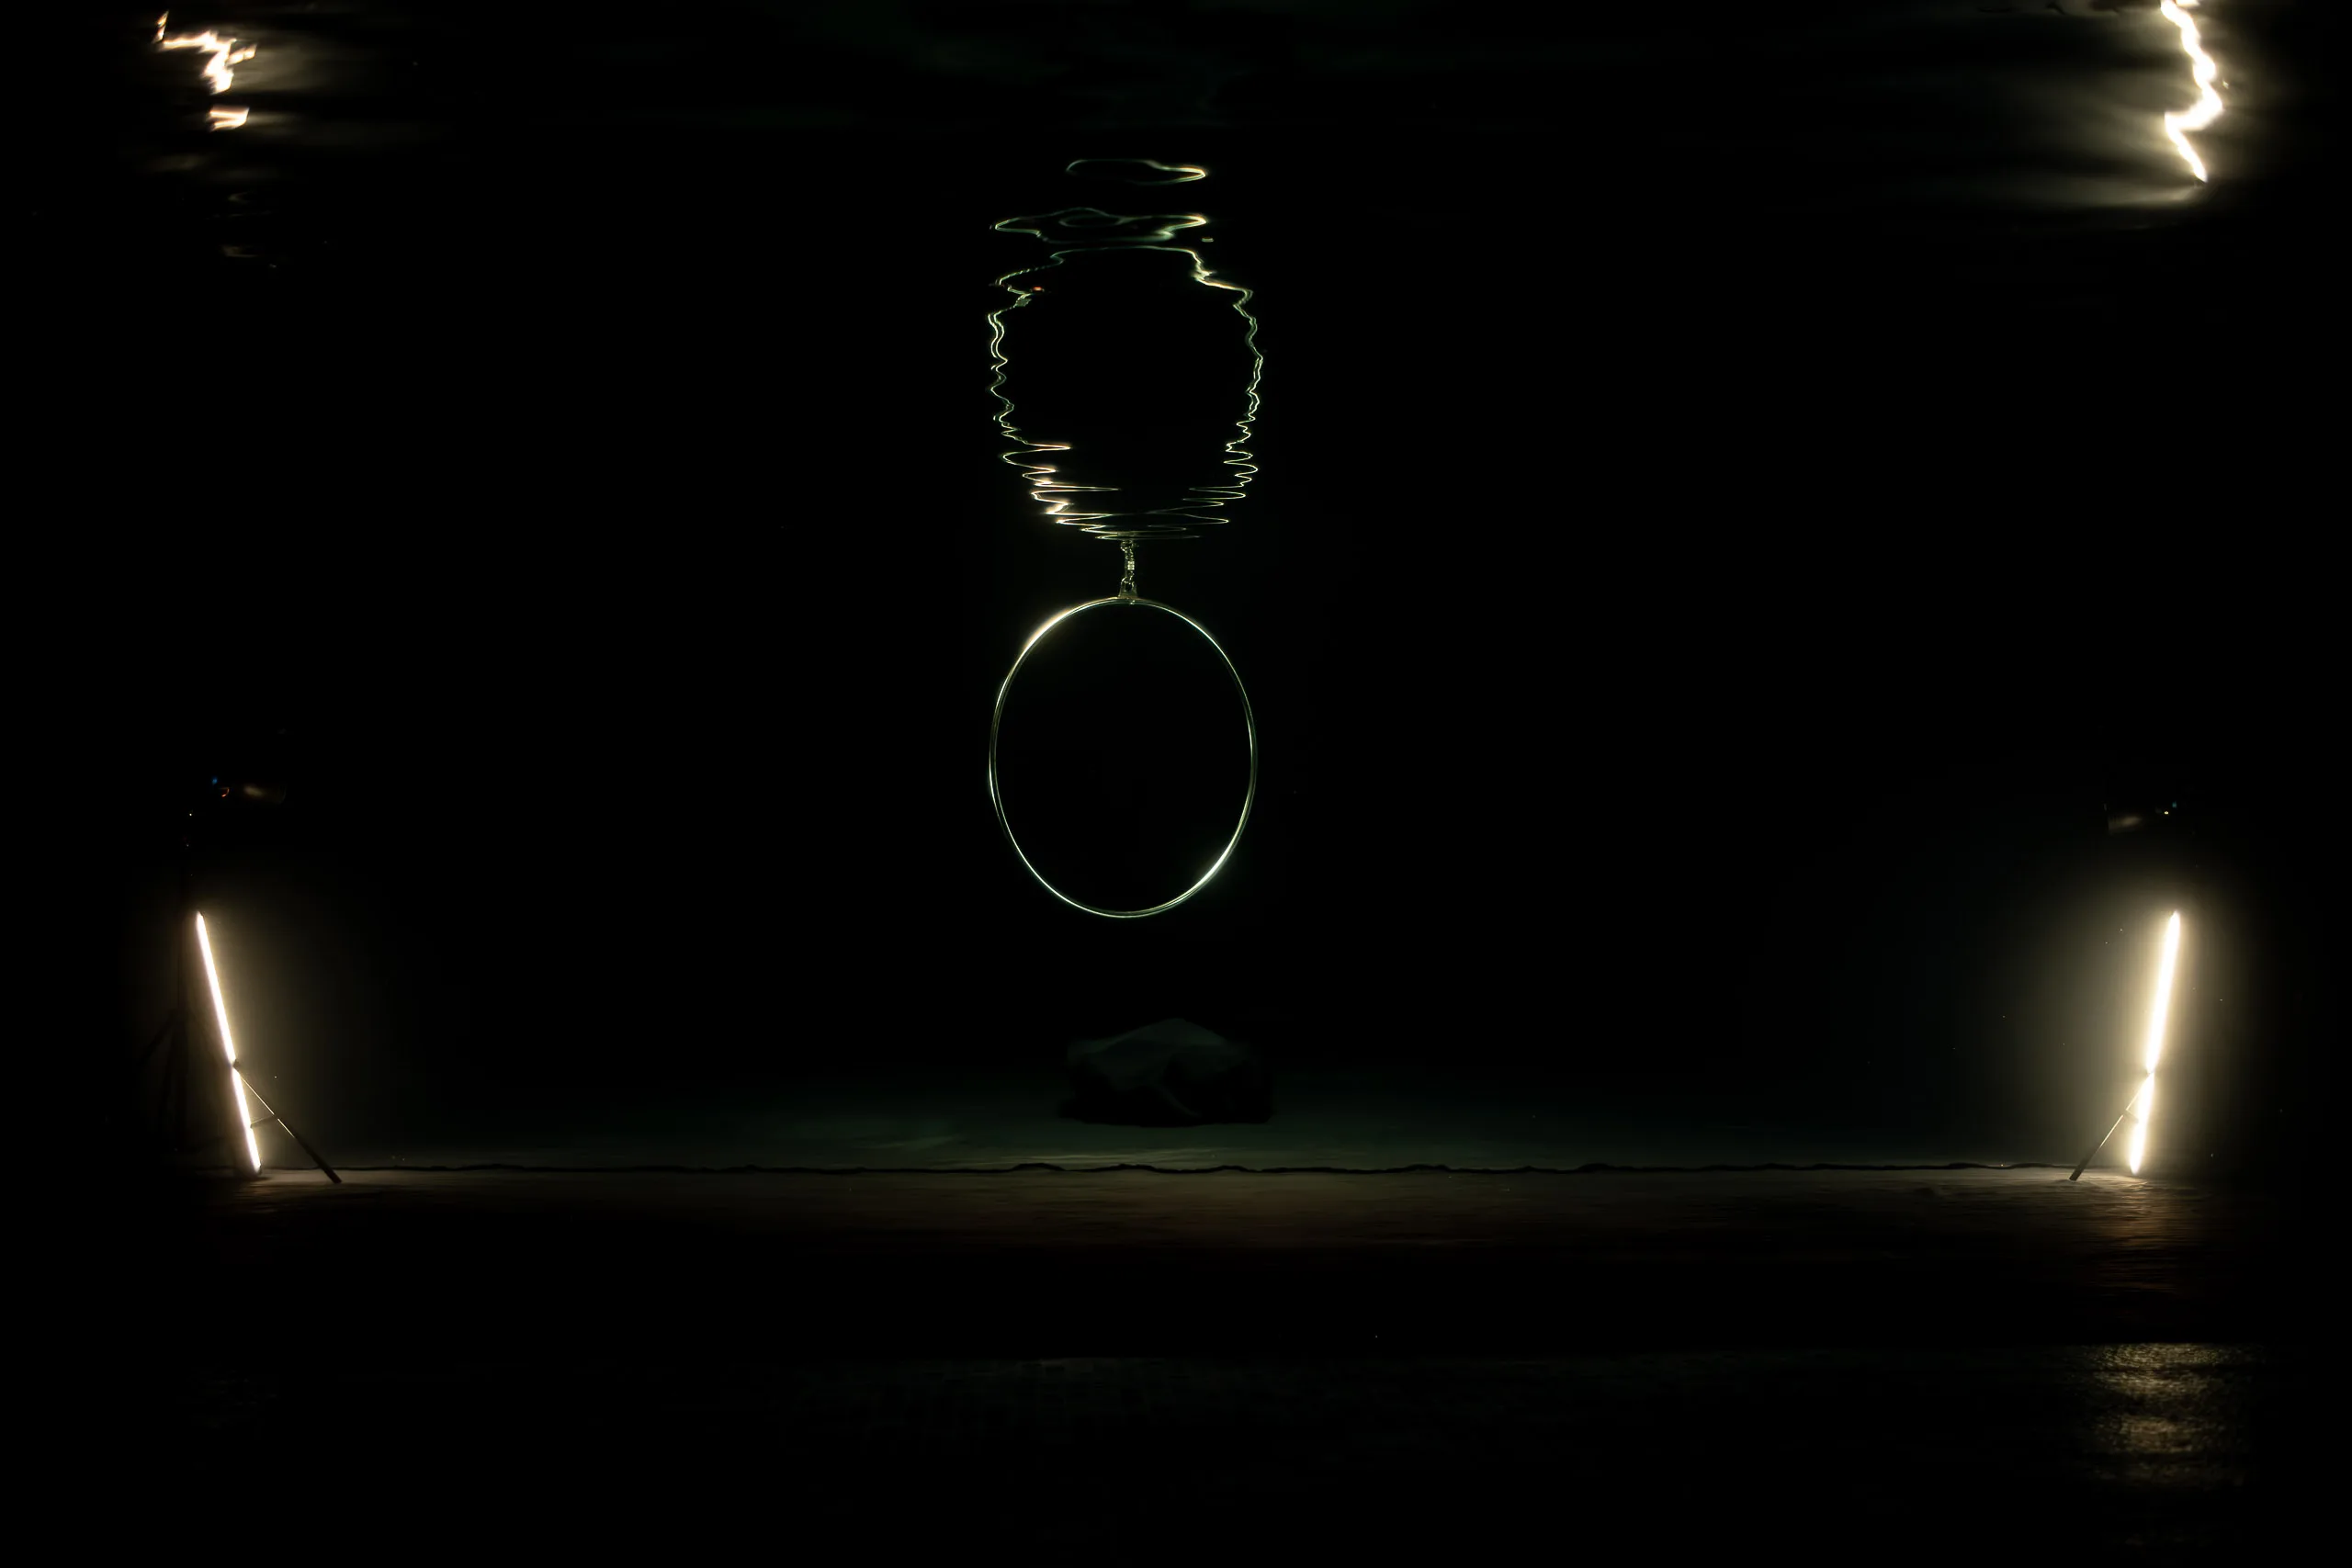
At night, on the other hand, I have complete control over the light. Above the surface, a Godox Knowled M600Bi fitted with a 47-inch (120 cm) PG4 softbox; in the water, two Godox WT60R tubes mounted on stands. All three sources are set to 2,800K: the water absorbs the excess red and orange, and the light reaches the sensor balanced, with no color cast to correct.
When shooting
- Shoot RAW: essential so you can fine-tune the white balance later without degrading the image.
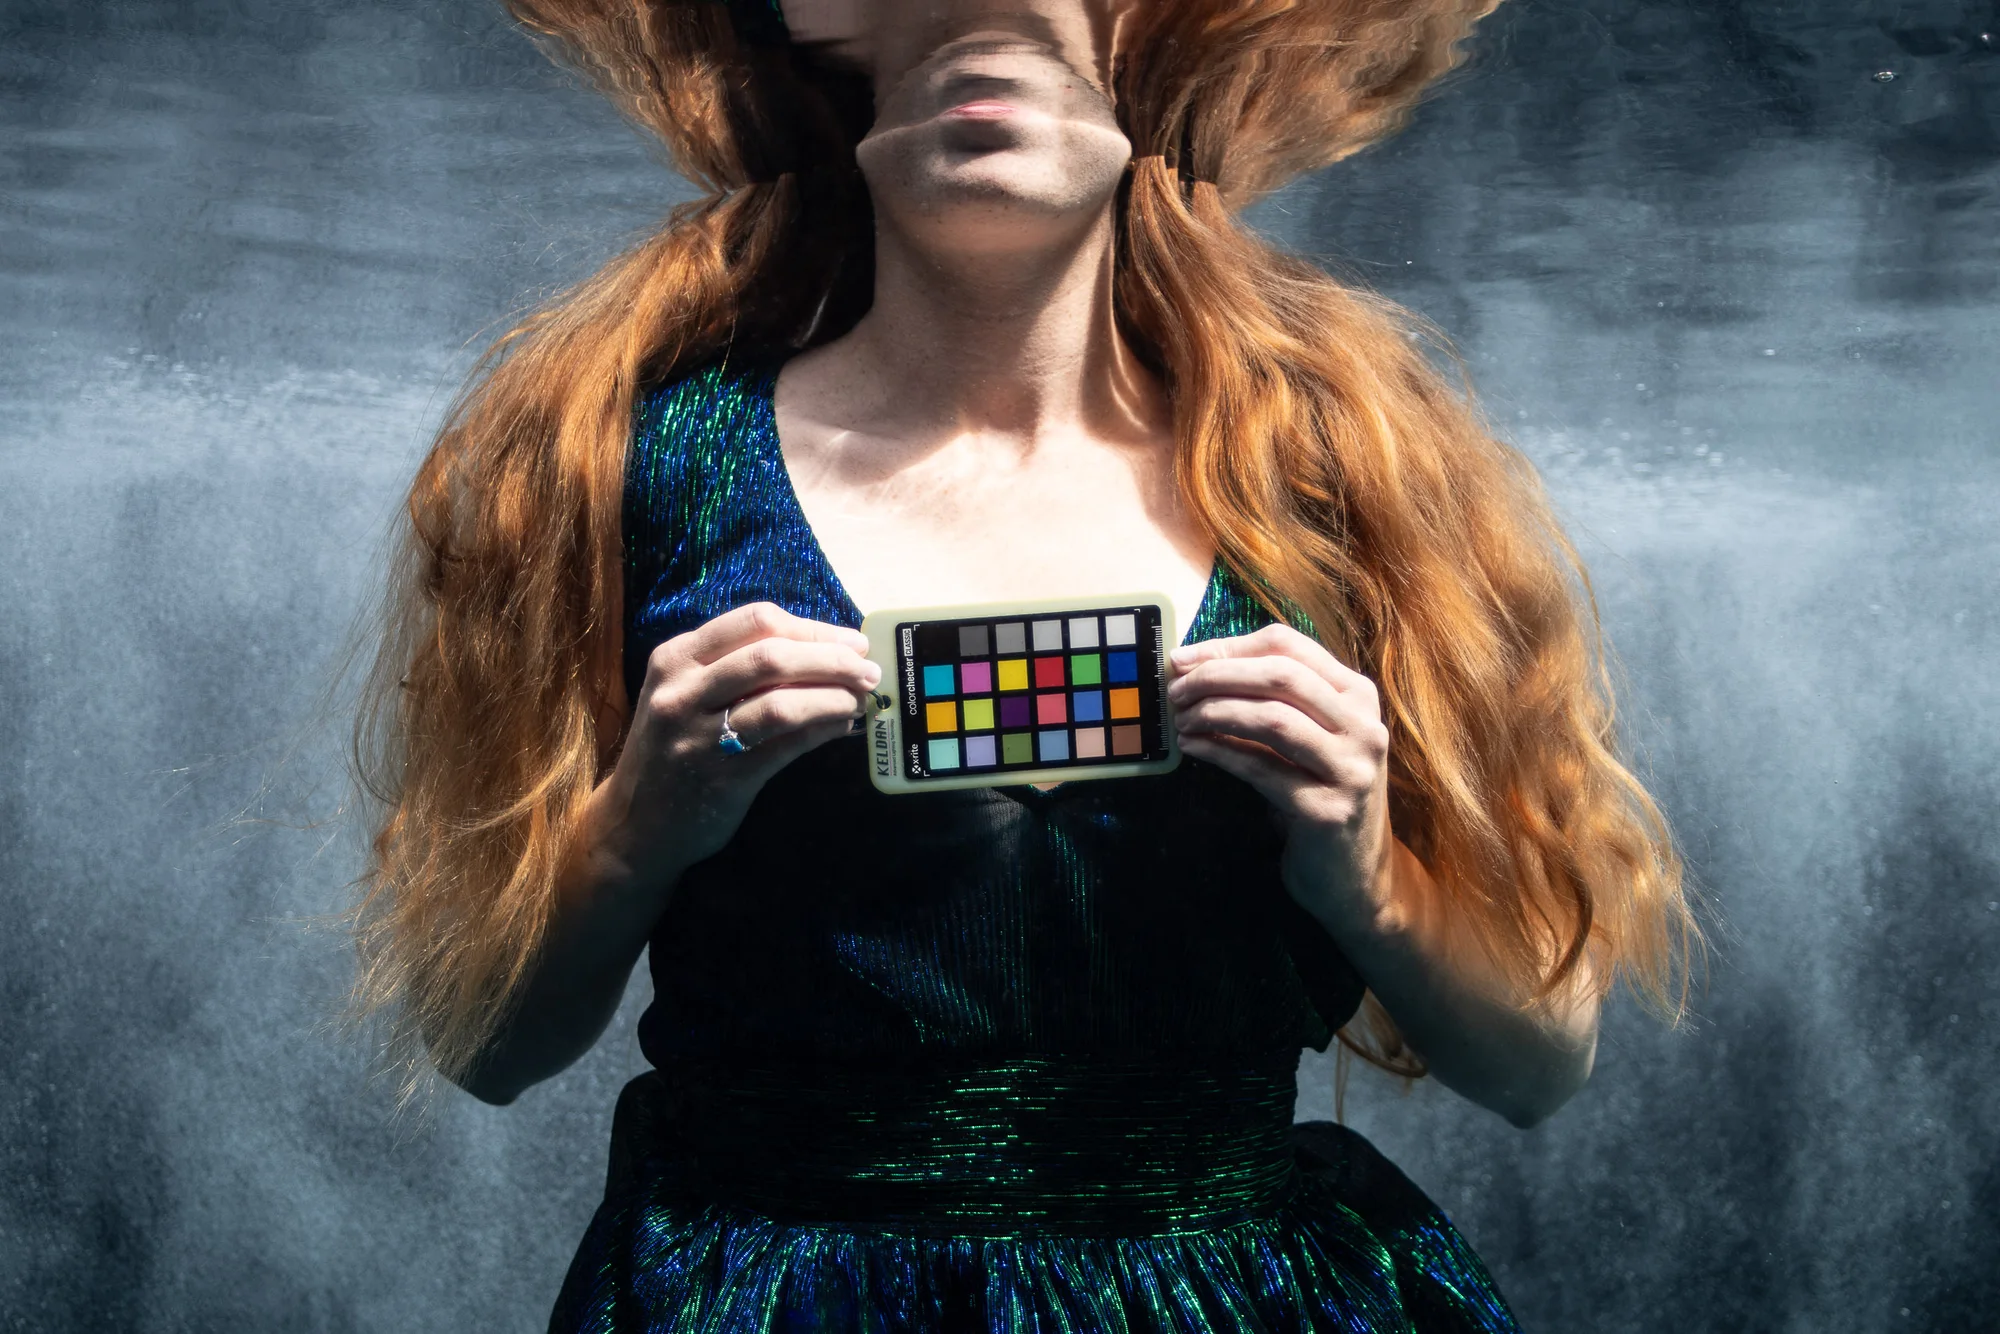
- Shoot a reference chart: I use the Keldan gray and color checker chart, designed for underwater use (see below).
- Work close to the model, with a wide-angle lens and lights close by: the less water between the light, the skin and the sensor, the truer the colors.
- Pick your time slot: during the day I shoot from 2 to 4:30 pm and then from 6:30 to 8 pm, and at night, when I have complete control over the light.
The chart is the key to my workflow. At the start of each session, and whenever the light changes, the model holds it up for a reference shot, at the distance they’ll be posing. It has a perfectly neutral gray area and patches of known colors. In post-processing, all it takes is a click on the gray to get an accurate white balance for that distance and lighting, then a check of the patches to make sure the reds, greens and skin tones are true. The resulting setting is then applied to the whole series shot under the same conditions: it saves a huge amount of time, and you start from an accurate base instead of correcting every image by eye.
In post-processing
I work in Lightroom Classic, then in Photoshop for the finest retouching.
In Lightroom, I first open the reference image with the chart. One click with the white balance eyedropper on the gray area gives an accurate balance, and I check the color patches. Then I sync that setting to every image shot under the same lighting and distance: the whole series starts from a consistent base in a few seconds. In the example below, the eyedropper gives a temperature of 6,800K and a tint of +41: the blue-green cast disappears, and the skin and hair get their true colors back.
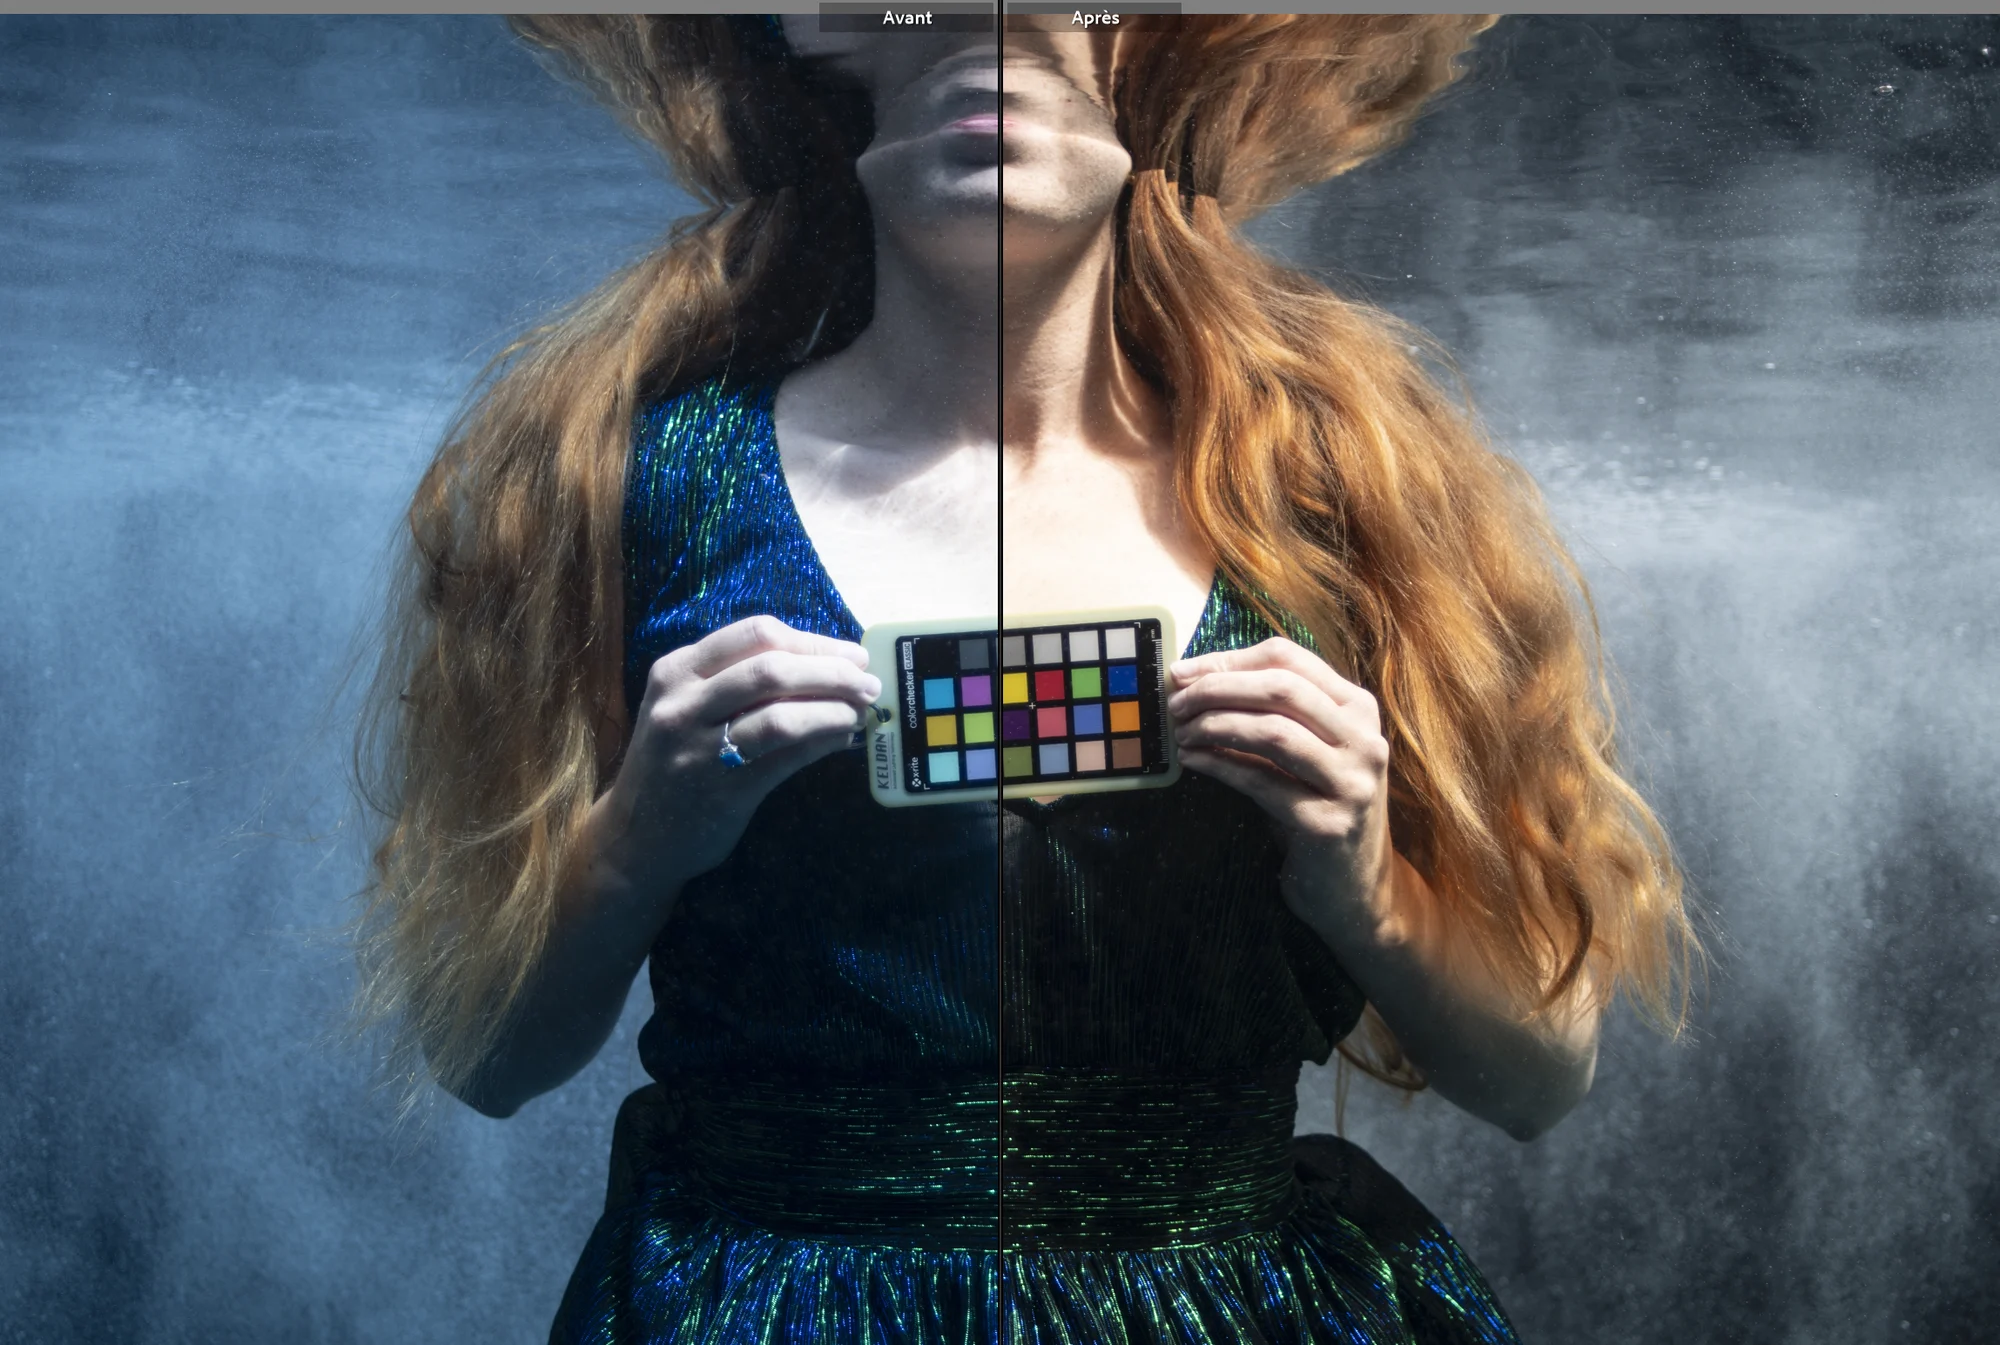
Still, a single global correction is almost never enough. Next I use masks to make local corrections to the areas that drift: the background, the fabric, hands closer to or farther from the lens. Targeted hue, saturation and luminance adjustments bring back natural skin tones without killing the blue of the water, which is part of the mood too.
Photoshop takes over for what Lightroom doesn’t do well: skin retouching, cleaning up suspended particles, evening out the background or more elaborate composites.
And sometimes the best solution is to embrace the constraint: black and white eliminates the problem entirely and puts the spotlight on light, shapes and textures. It’s no coincidence that some of my exhibition series are in black and white.
See the results in the underwater portrait galleries, or book your session.